Cleanliness is next to Godliness or so they say, and as De Lancy has no church yet I thought that a bath house might be a half way decent alternative. I also had a couple of ideas on how to make some of the tented temporary buildings which often sprang up as a town was growing, so the bath house is located in just such a structure.
 |
| Basic framework done |
The core of the building is made of cardboard with a balsa and coffee stirrer frontage. The external timber footings are also coffee stirrers and the canvas is printer paper laid over the card and soaked in PVA wood glue. A nice simple construction technique. As always the key is to measure twice and cut once. In this case that meant drawing the front elevation at full scale and then measuring the sides and sloped top on the drawing so I knew the dimensions to make the card tent top and sides. I was still out by a small amount but the papier-mache covering hid that. The trickiest part was gluing the front and back to the top and sides piece, but I got there in the end. To create the illusion of a frame I cut some thin strips of card and glued them to the tent shape which worked rather well. I put a groove down the centre of the coffee stirrers (length ways) to make each one look like two narrower planks and added some grooves for the ends where planks butted up against each other.
 |
| Frontage added along with 'canvas' |
Painting was fairly basic; a wash of GW Agrax Earthshade over the wood work and to create the impression of shadows in folds in the 'canvas'. I searched the web and found some useful signage that I reduced in size so it was roughly to scale. After gluing them to the frontage I added a wash of Windsor and Newton white acrylic ink to the top of the false front and some rolled up PVA soaked loo paper as rolled canvas over the doors. and a half open curtain inside the doors. I'm really quite pleased with the result.
 |
| First stage of painting completed |
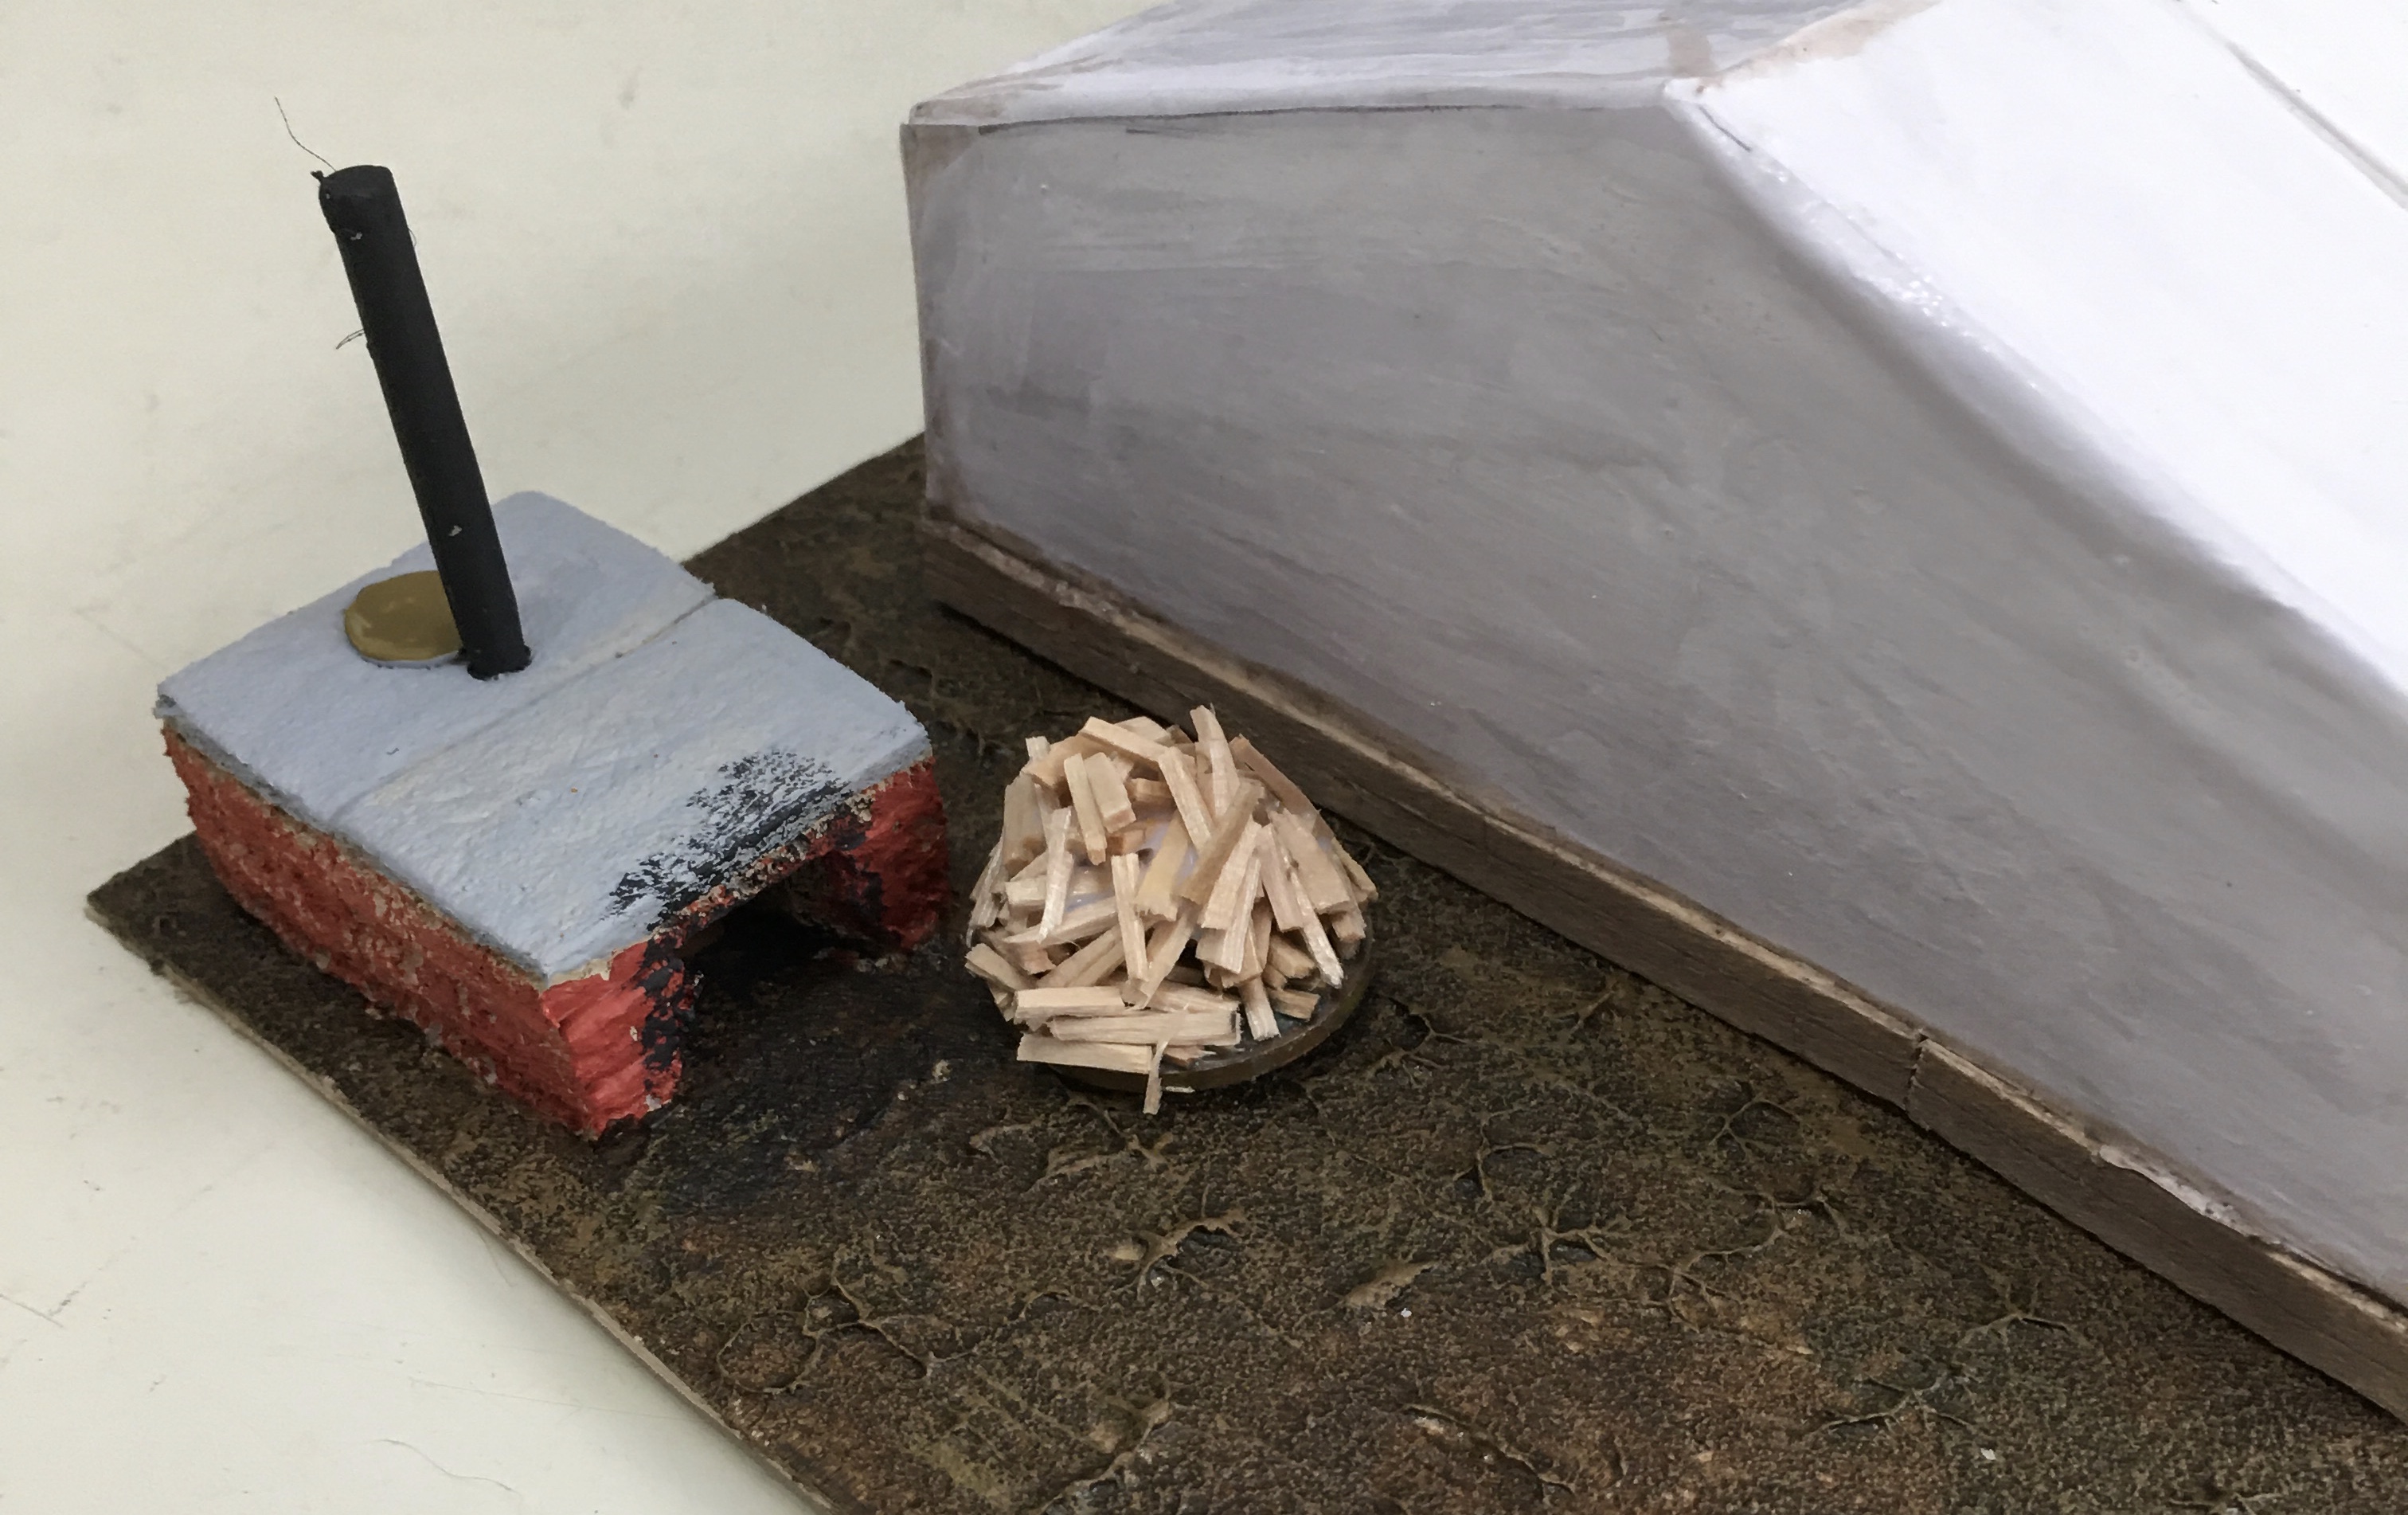
This being a bath house means that hot water would be available (for a small extra fee) so I needed to create the means of heating water. Further Google searching gave me an example of wood fired water heating used in the 19th Century that looked easy to create. This is a brick box with a door for fuel and an enclosed cauldron above it. This was made from three layers of 5mm insulation foam, a skewer and the head of a roofing nail as the caldron lid.
 |
| Around back is the water heating system and fuel |
 |
| Closer view of the frontage |
To flesh out the town I have also been making more fences. There are going to be quite a few of these so to aid with that chore I created a framing tool to line everything up and mark sizes and fence post locations. It isn't exactly high tech but it does the job.
 |
| The fence framing jig in all it's low tech glory |
Of course you didn't expect me to stop at one new building did you? No I didn't think so. I have started work on a very basic shack or maybe it's going to be an outside store. Either way it's an extra building. As you can see in this case measure twice cut once didn't work! Fortunately dog food card packaging is pretty forgiving and a new false floor hides a multitude of sins (and Tesco branding). Cladding the exterior walls is a slow job and I need to go find a new Stanley knife blade as the current one is now very blunt so that's it for this post.
 |
| Next up is a very basic shack |


Absolutely brilliant. How many more buildings have you got left to make? Looking forward to seeing them all together!
ReplyDeleteI still don't have a bank, and a few residential buildings would be nice, and at least one more saloon. But there are enough to start the town layout now. I could really do with a mid brown desert/arid look cloth rather than the green temperate one I use for most other games. A trip to Boyes fabric section may be required.
DeleteNifty addition to your Old West collection.
ReplyDeleteThanks Jon
Delete