Showing posts with label Campaigns. Show all posts

Wednesday, 9 March 2022

Cold War gone Hot solo campaign - a quick update

In view of the current events in Ukraine I'm shelving the cold war campaign.  It seems incredibly crass to game a Russian invasion while one is under way in real life.  I will dig out FFT again but probably using my 6mm 1940 stuff.  

In the mean time my hopes and best wishes are with the Ukrainian forces.  We have donated to the Red Cross Ukraine fund as there is little else that we can do.  My days of lugging a GPMG or an SLR are long behind me and I was only a weekend warrior in any case but that is enough to give a very small insight into what the defenders and civilian population are facing.  Strangely I have some sympathy for the 18 and 19 year old Russian conscripts, told they were going on exercise and then thrown into a shooting war.  I have rather less for the politicians and senior officers who green lighted the invasion.  

So as a result BAOR will not be facing off against the Red Horde again for the foreseeable future.

Tuesday, 27 July 2021

So where were we?

I'm about ready to resume gaming now as I am able to lift and carry playing boards and banqueting tables again.  Which means I can set up a game and restart the Dark Ages and World War Three campaigns.  I might even be able to try out the Altar of Freedom Random bid spreadsheet once I have created enough terrain (my collection needs to be extended to include more roads, rivers and a lot of woods).  As it's been a while since I was able to move any of the campaigns forward I thought that a short catch up post might be in order.

Dark Ages Campaign
It's still 799AD in dark age Great Britain.  The last entry for that campaign was way back in February and can be found here Small but Perfectly Formed: The Dark Ages Campaign (elenderilsblog.blogspot.com) and details the forces about to clash in the South West of modern Scotland where Strathclyde and Northumbria are about to fight.  The Northumbrians have the advantage of numbers and are intending a straightforward line 'em up and let 'em go approach to the battle.  The Strathclyde Welsh are hoping to use the terrain to narrow the battle lines to off set the Northumbrian numbers.

Cold War Gone Hot 1982
The second encounter between BAOR forward elements and the Soviet assault formations is going to be a tad unbalanced.  You may recall that a BAOR recon formation is facing probing Russian Motor Rifle and Tank battalions in sector D8 of my campaign map.  Details of the run up to this game are at Small but Perfectly Formed: Cold War 82 - further information (elenderilsblog.blogspot.com)  The big question is should NATO funnel armoured formations into the table from adjacent map sectors or hold the line until all Soviet lines of attack have been identified.

Altar of Freedom
The most recent thing I was working on was the semi-random bidding spreadsheet.  I think this does what I want but I need to trial run it in a game.  My big issues is that the PC with the spreadsheet software is not in the same room as the gaming table.  So I came up with the idea of generating several turns' bids (actually more than the game will need) before the game and recording them on cards.  Each turn I shuffle the cards and draw one at random so that I have no solid idea what that turn's enemy bid is going to be.  It means that I'm not running from room to room every turn which will let me get on with the game with minimum interruptions.

So that's where we are.  Normal (or at least what passes for normal around here) service will be resumed in the next day of two.


Monday, 14 June 2021

Cold War 82 - Identifying the Soviet attack avenues

 BAOR Brigade HQ - 05:30hrs 6th June 1982

"We are definitely in to a shooting war Gentlemen.  Warsaw Pact armoured formations have crossed the internal border at multiple points and large scale air raids are hitting our airfields and port facilities as we speak.  Battle Group Bravo fought an engagement over the last hour with what they are tentatively identifying as lead elements of 2nd Guards Tank Army around Ingelund.  They have badly hurt the Russian advance guard but are now withdrawing to the west to avoid being outflanked."

"We have two other Russian axis of advance within the Brigade area to contain but we have no positive contacts with them as yet and I have some concerns that they may have bypassed our recon formations.  We will know more once the AAC helicopter recon flights report in.  For the moment our trip wire units are pulling back to pre-planned defensive positions where they will make a further defensive stand.”

Soviet command post 1st Division, 2nd Guards Tank Army

"We have pushed the British back around 7Km all along our main axis of attack.  Our third tank regiment has dislodged heavy armoured formations at the cost of two battalions having to reform their units which will prevent them from following up immediately.  This is of little concern as the Regiment’s remaining two tank battalions have closed up and they will launch a regimental scale attack as soon as their lead battalions are ready to engage.  Lead elements of 2nd Tank Regiment are reporting contact with a British Reconnaissance screen.  1st TR advance guard has not made contact with the enemy yet."

In game terms the BAOR units are mostly withdrawing one table west to cover the crossings over the first river line.  Soviet 3rd TR faces an hour’s delay while it regroups the advance guard which was roughed up at Ingelund.  This has allowed it’s second echelon to close up.

If you look at the game map below Soviet units are orange circles and BAOR yellow rectangles (they show up better if you open the image up and zoom in).  The markers show which tables they occupy but not the exact locations on those tables.

The situation at around 0530 hrs 6 June 1982

There is a situation developing in the far north of the brigade area where one river crossing is unguarded.  BAOR needs to redeploy units northwards across the entire front line to balance out defensive duties.  Remember the BAOR battle groups are pairs of companies/squadrons and the recon units (noted with an R prefix) are troops with attached specialist units, while the Soviets are pairs of battalions so things are not as clear cut as they appear.

The turn process is to move the BAOR formations then the Warsaw Pact ones.  There is no fixed turn length, instead I set a time based either on the end of the last engagement and any regroup time and see how the other units have moved during that time.  Once I had moved the Soviet units, using a semi random system, I diced for air superiority for the next set of encounters and got a pretty substantial pro-NATO result so Soviet air support may be 'delayed'.  The next fight will be to try to extricate the BAOR Recon formation from table D8.

I'm beginning to wish I had used an actual set of locations from the BAOR area of operations rather than fictionalising things, mainly because I wouldn't have to try to invent names for places!  Lesson learned for next time!

Meanwhile back in the real world, I'm healing well following my surgery but still can't lift or carry anything over 5Kg in weight or stand for more than 15 minutes at a time.  The surgical scars are healing well and I'm not in any real pain more a general discomfort where my chest was cracked open!  All of which prevents me from setting up the large table required for the cold war games for a while yet.  It's probably going to be a couple or three weeks before the next game is played. 

Tuesday, 25 May 2021

Cold War 82 - further information

 If you are trying to follow the Soviet invasion on the campaign map it helps to understand the grid reference system I am using.  The horizontal rows are named alphabetically A - J so the top row is row A and the bottom is J.  The vertical bit is slightly confusing as rows don't line up as exact columns.  The horizontal rectangles are numbered from left to right 1 - 9 in each row.  so each potential table has an alpha numeric reference such as E9.  All features on that map are given the feature name (e.g. a hill) the table reference and a number if there is more than one of that feature so Hill E92 for example.  Hopefully it makes sense. 

The campaign map for day 1 objectives (click for a larger version)

The Soviets had nine potential entry points (marked by the small red arrows on the east side of the map(the right of the map).  I started by assigning units to assault forces and placing them into three columns.  I then diced for entry points for each column.  Which gave me entry points in tables B9, C9 and E9.  of those only E9 was occupied.  British forces are B Gp (Battle Group) Charlie in B8, B Gp Bravo in E9, B Gp Hotel in F8, B Gp India in H7 and BG Alpha in I9.  Those formations (two company sized units each) are supported by Recce groups (R Gp) in D9, H9 and J9.  Artillery support in the form of an Abbot regiment are located G4,

What that all means is that the Russians have chosen to concentrate in the North and BAOR assets in the south will have to relocate.  But they have to be aware that a further Warsaw Pact Formation is available and could enter to the south.  Two Soviet formations are yet to meet any resistance and will be pushing deeper into the Federal Republic unless BAOR can relocate blocking forces.

The current plan is for B Gp Alpha to move north to J8 allowing B Gp India to move North West to where the fighting will probably be concentrated by the time they are in position.  Recce Groups Alpha  and Bravo in the south will move slightly north to help cover the gap left by B Gp India moving away.  Other units may need to move westwards to support each other and prevent Soviet flanking movement.

Last but not least (at least for me) there will now be a short break in blogging as I have to undergo some medical treatment in hospital.  This will keep me away from the keyboard, other than checking in on my phone from time to time.  Hopefully It won't keep me away for too long.  


Monday, 24 May 2021

Cold War 1982 - Disaster at Ingelund

Disaster, but who for?  Read on to see how the fight develops!

The first thing to say is that I made a mistake with the map for this game.  I'm not sure how I managed it but I drew up a map for a 8' x 4' table and not as it should have been 6' x 4'!  Which probably explains why I had trouble getting the terrain to match the layout from the campaign master map,  The corrected map looks like this.  As before the yellow lines are ridge lines which block LoS but have no other effect.  I laid fields down onto the table to give a bit of variety but they have no effect on game play.

The reworked table layout.  The smaller settlement to the East is Alte Ingelund

It's a fairly open part of the North German plain crossed by low ridges in the west and a single higher ridge in the east.

The BAOR Battlegroup (Bravo) has to slow the Soviet assault to buy time for road cratering and bridge demolition to be carried out, or at least prepared, further to the west.  The plan is for the Infantry platoons to dig in with hasty entrenchments and the Chieftains to provide fire support.  As it is expected that the Russian attack will be preceded by artillery strikes the defence decides not to use the reverse slope of the main ridge as a holding line and instead to dig in behind the lower ridge line to the west.  This is in the hope that the artillery attack will initially fall on the more prominent eastern ridge line.  The British should have artillery support from their parent brigade available if not called into use in other areas.

The Russians elect to lead the attack with the T-64 Battalion with the BMP mounted infantry in close support.  The plan is not exactly subtle, advance in two lines until contact is made and then attempt to overwhelm the defenders as quickly as possible.  The tank force is to identify enemy fighting positions and pin them while the infantry go around the flanks to engage them.  The Russians have artillery support from their Brigade's assets and can call upon Divisional assets (the rocket artillery) but may not get access to them.

Soviet reconnaissance photo of the road to Ingelund

Ingelund and it’s environs 

Alte Ingelund and the main ridge line seen from the South

The Soviet advance force enters the table at 04:12 hours, each turn in FFT is 12 minutes, hence the slightly odd times.  Its  first light on a clear June morning but with slightly reduced visibility as the sun isn't over the horizon yet.  In turns one and two the Soviets advance towards the main hill line and call in artillery strikes on the reverse slopes (I used a random target selection with a slight bias to that location).  It is not until 04:36 that they break cover and cross the ridge.  Everything looks clear ahead (they can't spot the dug in infantry within their hasty entrenchments until they get to within close combat range or the infantry fire or move) so they press on keen to stay on the time table for fear of the Zampolit accusing them of 'a lack of socialist zeal'.  Ahead are a troop of  Chieftains waiting behind the ridge which passes through Ingelund for their moment.  At which point the battlegroup's radio net crackles into life.  "All Bravo call signs, this is Bravo Actual. Enemy tanks to our front.  Weapons Free repeat Weapons Free. Out".

BAOR's  BG Bravo dug in around Ingelund

The Russian initial advance

In the restricted light the Brit's can't yet see the BMPs following up the T-64's.  The Chieftains behind the crest line opt to shoot and scoot relying on their 'excellent' rating to off set the movement effect.  All four troops open fire at long range then pull back from the crest.  The result is not what they hoped for one T-64 platoon fails a quality check and becomes Combat Ineffective.  The T-64A is a different beast to the T-62 I tested the rules out against, better armour and a gun that can cause a Chieftain real pain if it gets close enough.

First blood went to BG Bravo a T-64 platoon burns

The T-64's push doggedly on under cover of smoke laid down by the brigade 152mm guns,  Not helped by a wind from the West which means the smoke lies parallel to the line of advance rather than crossing it. They Russian armour needs to close to within their effective range which is half that of the Chieftains they are facing (12 inches v 24 inches) so the only option is to push on.  As they finish their move two troops of Chieftains reoccupy their firing positions on the ridge and open fire. With stabilised guns and high quality crews the firing is more effective than the last salvo.  Two T-64 platoons are destroyed and a third rendered ineffective (failed a quality check)  the Russians are rated as average quality and have a high hurdle to clear if they are to successfully pass a QC.  The BAOR defenders now spot the BMPs following up behind the T-64s.  This is starting to look a bit dicey numbers wise.

It's now 0500 and World War three has been raging for a little over an hour.  The leading T-64s are now into effective range of the Chieftains deployed on the ridge to their front.  Time for some payback.  Except this is the time that two dug in Milan teams make their presence felt.  Waiting patiently on overwatch they now unleash a barrage of ATGM's and while not destroying any Russians out right they cause two more T-64 platoons to fail quality checks..  That takes the T-64 battalion over 2/3 casualties and the formation has to take quality check for casualties.  They fail.  At this point the FFT rules would take the models off the table  I prefer to leave them on with mandatory retreat moves and having them no longer counting as a priority target.  With their tank support gone the BMPs are caught flat footed.  They have already moved forward and are now easy targets.

"All Bravo call signs, Bimps in the open, advance and engage"

In their movement phase the Chieftains surge forward over the crest line and engage at close range backed up with Milan fire.  It's bloody, 5 BMP platoons are wiped out in a matter of moments with only one platoon of infantry managing to dismount from the carnage.  To make matters worse the BMPs were unable to spot the Milan positions to return fire.

Smoke was not as useful as hoped for by the Russians

In a last desperate throw of the dice the BMP unit calls for fire support from the 152mm artillery but is told they are not available to him (Failed availability roll).  With tanks running free to his front and no anti tank capability other then the mounted up infantry the battalion CO orders the surviving BMPs to withdraw and dig in around Alte Ingelund.  It's 05:24 and already two full Soviet formations have been decimated with little chance of recovering vehicles or crews as the British hold the battlefield.

As the survivors retreat the Brits pull back to their starting positions.

Meanwhile around Ingelund, Battlegroup Bravo is mounting up and slipping quietly away to the west.   The day is still young and the fighting isn't over it's time to go, before Ivan unleashes massed artillery (or worse) on the ridge line.

Russian survivors dig in and hope to be relieved

Conclusion
I rolled for the two sides quality and downgraded the Brits from the resulting 'superb' status to 'excellent'  I upgraded the Russian result to average as well.  The quality gap was still too high and in FFT troop quality is vital.  The Russians really need more toys on the table to make that scenario winnable given that quality imbalance and more and heavier artillery support would help as well.  Lastly the terrain is probably too open even for the North German Plain.  Next game I will try helicopter support as an add on and possibly the dreaded fuel air MLR as off table fire support.  the game played out well and even though I was using the full rules for the first time completed in under three hours.  I'm sure I must have made some mistakes and I still have not really fully grasped the artillery rules but onwards and upwards!  Ivan has two other lines of advance and BAOR is stretched pretty thinly so they may not be so lucky next time.


Wednesday, 19 May 2021

Cold war gone hot - Nato goes on alert

NATO Northag HQ - Intelligence briefing 09:00hrs Friday 4th June

"Good morning Gentlemen.  We face a concerning development today.  It appears that our old friend Ivan may be attempting to pull a fast one on us.  

Their recent exercises may have been a cover for a rapid mobilisation.  Intelligence sources within East Germany and Poland are all saying similar things about the military rail convoys returning units eastward.  They do not appear to be fully loaded and in many cases are apparently running empty or with only ballast onboard.  I won't bore you with the details of how this has been determined it involves some very brave chaps checking weighbridge data and other arcane stuff but it seems that the formations which came west for the exercise are not being returned to base.

Our American colleagues have satellite data supporting this hypothesis.  The heat signatures of the locomotives do not accord with them pulling fully loaded transporters and they have picked up isolated infra-red signatures within forest areas close to the internal German border suggestive of troops in bivouac.  This is the case everywhere we have eyes on Ivan and to be frank it is worrying.

Our normal presence on monitoring duties inside East Germany is facing the usual harassment and in a couple of cases this has included their vehicles being blocked from entering areas of interest.  In one case a vehicle was forced off the road.  Not spectacularly unusual but it does show a pattern. We are also noticing a reduction in the number of East German civilians coming over to our side of the border which suggests a tightening up of security in the border zone.  As a result NATO HQ is raising the alert level to 'attack imminent'.  I know we have been here before and it has always been a precautionary measure with a stand down following within 24 hours, but this time it has a different feel.  

I do not intend to allow us to be caught with our trousers down and have deployed reconnaissance formations forward towards the internal border as a trip wire these are supported by heavier assets from BAOR a few miles behind although in some locations they have been pushed further forwards."

HQ Battlegroup Bravo - Saturday 5th June 20:00hrs

"Listen in everyone.  I have a nasty feeling that this is not another one of those damn silly readiness exercises Brigade likes to chuck at us.  I'm hearing from our Bundeswehr liaison that German 1st Corps to the North is also on high alert tonight. Sorry but no beers tonight I'm afraid.  Stand too is at 03:00hrs, full combat load outs and full light discipline will be in effect.  Early to bed chaps we may be busy in the morning!"

Battlegroup Bravo - Sunday 6th June 03:45hrs

"Heads up, the games on!  We have solid reports of Soviet armoured formations breeching the internal border at multiple points across our frontage.  Its time to earn our pay and find out if we are as good as we think we are.  Mount up and  be ready to move in ten.  Full NBC precautions are now in effect make sure your guys are suited and booted.  Our recon troop is withdrawing rapidly without making full contact and we will shortly be the front line.  It looks like tanks with infantry support coming our way Our job is to slow the initial thrust and to identify the axis of advance.  If this is really 'it' then we are going on a bear hunt and it's going to be a long day"

As the day starts to dawn Battle Group Bravo moves forwards into their fighting positions. 

The first battlefield - Ingelund Crossroads

The image above shows the battlefield for the first clash in and around the village of Ingelund.  It is a fairly open area with a low ridge running to the east of the village at right angles to the Soviet line of advance.  The yellow lines show ridges which block line of sight but don't have any other effect on combat or movement.  The actual table will have other features non of which will have any effect other than as cosmetic features.

The initial Soviet formations entering the Map are a Battalion of T-64s and a Battalion of BMP-1 mounted infantry.  In reserve is a second Battalion of T-64s.  They enter from any point on the right of the table.  BAOR has a Squadron of Chieftains and a company of infantry with FV432s as transport.  There is a further Battle Group in positions to the immediate south of this table and recon formation to the North East (so on adjacent tables).  These will be tasked with holding at those locations until it is clear that there is no risk of parallel Russian columns advancing through those areas.  Both sides have off table artillery support available.


Tuesday, 18 May 2021

So you want to invade Western Europe? (and other other problems for rampant expansionists)

While I still have some painting to do the 1982 cold war campaign has been taking shape and I have most of the combatants ready to roll (in the Warsaw Pact case quite literally so).  I'm running it with a time limit for the Warsaw Pact.  They have to exit the west side of the campaign map (and maintain a supply line back to the east side) within 24 hours.  After all they only have a time budget of seven days to the Rhine.  I have come up with an alternative time line that doesn't involve a limited theatre nuclear exchange as a starting point, which was the case with the actual Soviet plan: Seven days to the Rhine.  

It’s an alternative 1982!  

After some persuasion from Ronald Reagan, Mrs Thatcher decides not to withdraw HMS Endurance from the South Atlantic and instead she increases the garrison on the Falkland Islands.  Reagan wanted Britain to shoulder more of the burden for security in the South Atlantic as he was concerned about Communist influence in SW Africa and didn’t want them to gain any kind of additional influence in South America which might allow them to interdict the other half of the South Atlantic trade routes.  This prevented the Argentine invasion but slightly weakened the British presence in Germany.

Reagan supported the Mujahedeen in Afghanistan and increased support to Pakistan which in turn allowed high tech weapons to cross over the border.  The impact of these was a shock to Soviet analysts and hastened the end of the Soviet occupation.

Meanwhile in the Soviet Union Chairman Brezhnev’s fading health opened the way for hardliners to exert increased influence over Politburo policy.  Soviet concerns over the rise of Solidarity in Poland and the possibility of Western intervention should Soviet forces be required to suppress the movement created a climate of deep concern in Moscow.  This was not helped by President Reagan’s strongly anti-communist rhetoric and the American's forthcoming deployment of both cruise and Pershing intermediate range ballistic missiles to Western Europe.  The unsuccessful involvement in Afghanistan also created dissatisfaction in the civilian population at Soviet policy and the Politburo needed to do something to distract them.

In our new timeline these factors spur the hard-line camp into action.  The military see that there is only a limited window of opportunity for action against the capitalist west before Soviet military forces become incapable of meeting NATO on advantageous terms.  Intelligence is available about the next generation NATO weapon systems which are starting to become available (Challenger, Leopard 2 and Abrams MBTs for example) suggesting that they will never have a better chance of victory than this summer.  The politicians have concerns that any perceived weakness will also bring about liberalisation in their Warsaw Pact allies and this will become a uncontrollable downward spiral.  This laid the foundations for an update to the 1970’s operational plan.

The original plan for ‘Seven Days to the Rhine’ was based on a NATO first strike and had called for a limited nuclear response upon NATO facilities and ports in Europe to hamper US re-enforcements reaching Germany.  If, instead, Warsaw Pact forces launched that first strike it was expected that NATO would retaliate in kind hitting targets along the Polish Russian border to restrict Soviet resupply and re-enforcements.  There were worries that this would lead to a rising within Poland and so a non-nuclear initial assault was planned.

Soviet forces in East Germany along with East German and Polish forces were told to prepare for large scale exercises and under cover of this troops in the western Russian republics were also activated.  After troops moved up to their jump off points dummy convoys were used to make it appear that they had returned to base at the end of the exercise.  As far as Soviet military planners are aware this worked.  The attack was scheduled to commence on Sunday 6th June 1982 in the hope that some NATO units would be less field ready as it was known many western servicemen had a habit of going out on the town on Saturday evenings and as this was also the anniversary of D-Day this might have exacerbated the effects of the night’s drinking!  

At 04:12hrs in the twilight of Sunday 6th June, the first Soviet assault units cross the internal German border heading West.  Operation Krasny Shchit (Red Shield) is underway.

The opposing forces 

BAOR has an armoured Brigade consisting of two regiments of Chieftain Mk5 MBTs and an armoured infantry battalion plus an attached recon squadron of Scimitars, divided up into 9 individual battle groups.  In support is a a artillery regiment of Abbot SP artillery and some royal artillery anti-tank detachments.

The Soviet initial attack consists of four Tank Regiments with T-64A MBTs and two Motor Rifle Regiments mounted in BMP-1 or BTR-70s with an integrated T-62 MBT battalion.  These are supported by a Hind attack helicopter company and a Recon battalion.  Off table support consists of an MRL Regiment and a SP artillery Battalion.  The second echelon adds a further two Tank Regiments and a single Motor Rifle Regiment from Warsaw Pact allies.

Other rampant expansionists?

While all this is going I haven't forgotten the Dark Ages campaign and further action will be forth coming.  There are only a couple of potential battles to resolve before the clock ticks over to the next turn.


Friday, 16 April 2021

The Soviet menace is growing


The Soviet war machine.  Not complete by a long way!

I have been busily painting and basing the Oddizial Osmy cold war models ready for the full version of A Fistful of TOWs 3 (FFT3 hereafter) arriving.   They were delivered a couple of days ago and I have spent my spare time since going through the rules to see where the differences to the introductory versions lie.  My first impression is that rules are well thought out and do create a very fast and deadly game exactly as I found in the test play through with the free introductory rules.

The differences other than all the extra rules such as chemical and tactical nuclear attacks, airborne assaults, and helicopter and airstrikes are the extra detail in the combat rules.  These cover things like the effect of stabilised guns, ( move and shoot and engaging multiple targets per turn), shoot and scoot attacks.  In other sections are a really well thought out set of guidelines for interpreting rules and disputes.  The full rules add chrome and make the use fire and manoeuvre tactics achievable.   They are pitched at the sweet spot between detail and playability (at least in what is the sweet spot for me).  The rules include data on a lot of weapons and combat formation TOEs (expressed in FFT3 bases).  Players still need to know their period as some of the fine detail isn't there in the lists and not all of the armies and formations you might want are not there (no Warsaw pact formations other than Russians for example) but there is enough to get started with.  FFT3 works at the one base is a platoon level but once playing my head switches to a tank is a tank and a stand of infantry is a section or fire team and it makes no difference to the fun.  For those who want it there are suggestions for changes to run the rules at 1:1 ratios but I really don't see the need.

For the Soviets 6 tank bases makes a battalion (edited from 9 so if you read this once already you are not going nuts it did have different numbers in this sentence) so I have the equivalent of 12 battalions ready to roll with 15 T-80s ready to have base work done.

(L-R) T-55, T-62, T-64, T-72 and last T-80 with unfinished base

On the painting front  there are more BTRs and BMPs plus their infantry passengers to complete plus a raft of support kit ZSU and BRDM support and recon plus Hinds and SU-25 Frogfoots.  The BAOR need some more FV432s and FV438s and crews plus their air support to work on. Sounds like a huge task but it really isn't at 1/600.

I have thrown money at this project, literally I ran out 1p coins to base stuff on and had to convert a £5 into pennies to ensure I have enough for the project and follow ons! I will explain the basing and ID system in the next post.


Saturday, 3 April 2021

Cold War Gone Hot - the first campaign map

 As mentioned in the last post I have created a campaign map which should cover the first 24 hours of a Warsaw Pact attack, give or take a couple of hours.  Apologies for the slightly washed out reproduction I need to play around with the scanner settings to get a bit more colour saturation. 

The campaign map for the initial fighting 

Soviet Forces will enter at the right hand side and try to exit from the left. I will be covering this frontage with BAOR forces.  Recon units will cover the area in the first two rows of rectangles (each one of which is a game table measuring 6' by 4').  Heavier formations will be to the west.  I will probably deploy a brigade sized battlegroup to cover the area consisting of a Chieftain regiment, one or possibly two mechanised infantry battalions plus a couple of Milan platoons, A Striker detachment (mounting Swingfire ATGM) and a Blowpipe AAGM detachment.  Artillery will be offboard.  Soviets will have (initially) three Motorised Rifle Regiments backed up with a T-62 Regiment. Stacked up behind that will be a T-64 Tank Regiment.  Which means that I need to get on with the painting and basing!  15 T-64As are painted and will be based by later today.

Based upon my initial test game it took the Soviets 36 game minutes to achieve their initial objectives on a 6' x 4' table and they would perhaps probably needed another 24 minutes (two turns) to get forces off the table excluding time for the second echelon to come up.  I intend throwing WarPac lines of assault open to input both through this blog and elsewhere on Face Book and through real life (TM pending) contacts.  So it is probably worth mentioning that WarPac forces may enter the map on any of the roads marked with a red arrow and the rules require battalions to be kept together.  Other than that express your opinions on the best WarPac operational plan for day one in the comments.  I will throw the actual table tactics open in due course.


Tuesday, 9 February 2021

The Dark Ages Campaign

 Its been few weeks since I did any updates on the Dark Ages campaign.  My focus has been elsewhere mostly on painting figures and for the last week or so on pushing on with the ECW rules.  I'm hoping to be able to post a rules update in the next couple of days as I have made some substantial progress on that project.

Meanwhile back in Dark Ages.  I have decided not to fight the small unbalanced campaign actions in every case.  So the Devet v Seisyllwch battle will be solved by the simple expedient of Devet accepting it's new status as a client or sub princedom of it's larger neighbour.  I have rather a lot of time to cover within the campaign and if I want to get to the end I'm going to need to speed things up.  Plus it lets me get to the more interesting table top encounters.  So Devet falls without a fight and the game rolls onwards.

Looking back at the list of events for this turn, we now move on to the last event of 799AD.  Northumbria attacking Strathclyde by striking into Rheged.  

By 799AD Northumbria's power was concentrated to the east of the Pennines and that is how the game is set up.  The North West was contested ground under Strathclyde Welsh influence (if not outright control) in Cumbria and loosely Northumbrian in the areas south of that.  The nature of government in Northumbria at this point was such that central authority was often lacking and control ceded to local leaders who made their own way without much thought, or care, for who the king was.  It was only where a strong king arose that this changed and historically that didn't happen very often.  

In modern terms Northumbria was a failed state.  There had been a generation of in fighting between rival branches of the royal line over which line should sit on the throne and this continued right into the mid 9th century, when one claimant allied himself with the sons of Ragnar Lothbrok.  Lets just say that it didn't end well. If you have read the Last Kingdom books or watched the TV series based upon the same you will have come across them as leaders of the first wave of Viking invasions.

Looking at the available forces in the game The Strathclyde Welsh can assemble the men of Galloway, Strath Clut and Rheged itself.  While Northumbria can count on Lothene, Berneich and possibly Cumbre.  I say possibly for Cumbre, as I have designated that region as disputed but occupied by Northumbria so the Cumbrians will act as allies and may be unreliable.

The available forces will be maximised as both kings are present so the line ups look like this:

Strathclyde

Strat Clut: King (Cv), 3 x Sp (reduced by battle losses)

Rheghed: 1 x Gen (Cv), 3 x Sp (reduced by battle losses)

Galloway: 1 x Gen (Cv), 1 x Cv, 3 x Sp

Strathclyde is carrying losses from the clash with the Picts earlier in the turn so are only able to turn out 13 elements.  They cannot deploy in two bodies as they don't meet the minimum element count  I set in the rules to do so.

Northumbria

Lothene: 1 x Gen (4Bd), 3 x Sp, 1 x Ps

Berneich: King (4Bd), 3 x 4Bd, 7 x Sp, 3 x Hd, 1 x Ps

Cumbre: Gen (Sp), 1 x Ps

Northumbria has maximised the available troops so as to be able to have two commands and is fielding 22 elements.  They will field The men of Berneich as a single command and merge Cumbre and Lothene into a second.  As a disputed territory Cumbre will count as allied and may not be reliable on the battle field. 

Wednesday, 18 November 2020

Dal Raitia 799AD - Pictia attacks Comgail (Dal Raitia)

The Pictish Forces are advancing from the North East and near an insignificant settlement called An Cladach they clash with the Dal Raitian royal army.  The Dal Raitian Scots are defending and the invading Picts are being run by the AI rules.  I am again using De Bellis Solitarius which are available as a free download from the Fanaticus and other, websites.  Versions are available for DBA 2.0 and 3.0 and I find that they give an interesting game by virtue of setting constraints on what the AI side is allowed to do while allowing player input within those constraints.  Before the game started I decided on the Scots deployment.  I then rolled up the Picts overall tactical stance for the encounter and then their deployment.  Think of that as the commanders pre-battle briefing from the CinC something like:

"Right settle down and listen up,  here is the plan.  We outnumber them almost two to one so they either have to hit us hard and fast before we have the line properly set up or they will want to defend and use the ground to their advantage.  If they attack their initial charge is a problem but if we stack the spearmen deep we should be able to absorb the impact.    

Moravin, you have the larger command so act aggressively, I'm putting you out on the right flank with Mar.  You have the majority of the mounted lads so if you get a chance to get around their flank, take it. Especially if you see a chance to attack their camp.  Nothing like having your women attacked to take a man's mind off the fighting eh?  

I will be in the centre with the rest of the Army, so that's you three, Strath Erin, Athfotla and Monath.  Your boys will hold the centre and cover our camp.  Nothing too clever required there, I think we can hold back in a defensive posture and see how things develop on the right.  If they attack us then all the more space on the flank for the mounted lads to use.  I'm pretty sure their entire strength is in the field against us but I'm not ignoring the risk of them trying to land behind our flank from boats.  Moravin the beach is on your flank so have a think about about what you might do to cover that eventuality will you. 

Everyone happy?  Excellent well grab what sleep you can and we shall see what the morning brings."

Or as the dice rather more prosaically gave me; place the camp as near the centre line as possible and behind any available bad going.  Command 1 (The King with  8 elements) deploy in the centre with a defensive stance.  Command 2 (11 elements) deploys on the right flank and takes an aggressive stance.  Pike form up two deep if facing warbands.  Fastest troops deploy on the end of the line.  

The Scots have 11 elements to deploy including the King.  There is nothing to loose and a defensive strategy just will not cut it.  The Scots will probably never have more men in the field than they have today, so they have to take the fight to their Pictish cousins.  Accordingly I have decided to go with a littoral landing.  That will be on the Pictish Right which it turns out are under orders to be aggressive and so with any luck it will land behind their flank.

The Scots briefing is an altogether more downbeat affair.

'Alright then sit down and take a drink it may be the last one you get from me.  You all know the Picts outnumber us and have a point to prove having had a beating from the Strathclyders of late.  They have crossed the mountains to get at our heartlands so I doubt they just want to talk.  Tomorrow is going to be bloody, the only question is whose blood will be on the heather?

We don't have the luxury of giving up this ground and there are no reinforcements coming. What we do, win or loose, we do with the men we have, here, at this place.  They will come on fast and that is our one advantage as it will give us the option of turning their flanks.  I will have the main body but  you Comgail,  you will lead a small group to land on the beach behind them.  Hit them in the flank or rear and hit them hard.  Make them rue the day they came to Dal Raitia.  You will be the hammer, we will be the anvil and between us I intend to crush them.  Now go see to your men, tell them of certain victory on the morrow and, remind them that they are fighting for their homes and families.

The Day of Battle

'The day of battle  dawned and looked set fair so the fight commenced almost immediately. Our landing party sprang into action as soon as the Picts were in reach and charged up the beach into the end of their line.  Two units of Pictish light horse turned to meet the threat.  Meanwhile our main line advanced as quickly as they could but it was clear that the landing party would be on their own for a wee while.  We could tell that the attack from the beach had the Picts rattled as their advanced stopped dead on that flank.'  

1. The armies deployed -landing party ready to storm up the beach!

A good opening pip score allows the out of command littoral landing to get into contact with the end of the Pictish line.  In their turn both Pictish commands get abysmal pip scores and low aggression scores meaning that the right hand command who are meant to be moving up stall as their flank units have to deal with the Scottish attack. The left hand command does manage to advance to occupy the boggy ground to their front.  This was repeated for the next two turns where the Picts consistently rolled single pips for both commands.

'We couldn't believe that the beach attack had thrown the enemy into such confusion, we could see that the fighting was muckle fierce on that flank and one group of Pictish light horse was soon destroyed.  The rest of that wing seemed incapable of reacting to the attack.  Our main body continued to push forward towards the enemy with our wilder tribesmen leading the advance.'

2. Picts in a pickle - down one LH already

I roll two dice for each Pictish command the large dice is the aggression for this turn the smaller the Pip score.  The aggression roll is adjusted based on the starting aggression and the pip score.  The photo below shows just how bad the Pictish rolls were!

3. On the defensive. Awful dice mean the Picts cannot put attacks together!

As the day rolls on the landing party takes out a second light horse unit it had pinned back against the end of the Pictish line. The poor Pictish command rolls are really hurting them and the right wing is only one unit away from becoming demoralised.

4. It looks better than it really is for the Picts (on the left here)

The terrain is helping the Scots.  The aggressive Pictish right wing has to overcome the flanking attack and get through the woods to to turn the Scot's left.  The other flank, which is wide open, is facing the defensive Pictish wing who are less likely to take advantage.  The boggy ground is doing nothing to slow either side but it is preventing the Pictish spearmen gaining the rear support bonus  Fast Pike would gain in clear terrain.

5. The Scots have a decent defensive line at least

It isn't until turn five that the Picts get a decent pip and aggression roll and with the Scots racing forwards to the attack with their main force it isn't a moment too soon.  They bring more troops up to the fight on the right wing and push forwards in the centre where the two lines come to close combat.  There the fighting leads to a first casualty for the Scots and the usual confusion as the neat lines dissolve.  At this point you would have thought that things are about to improve for the Picts, they are in contact all along the line and should be able to bring the advantage of numbers to bear.  You might have thought that but, the dice gods really have it in for the painted people and in the first combat they loose another unit.  Even worse this is from their right wing command which pushes them over the edge into demoralisation.  There is a single ray of hope now as a second scots unit was destroyed in the combat round, so the Scots are edging closer to their break point. 

6. A turn later and the battle is slipping away from the Picts

The next couple of turns have the Picts attempting to keep their right wing on the table by using pips to force unit's hold their ground.  Because they are demoralised that wing can't do anything but hold or retreat and it takes a pip to have a unit hold in place, they can't initiate combat although they can defend.  Their biggest problem is that if they hold the units closest to the edge of the table in place then those who are pinning the Scot's beach landing in place have to retreat and that opens the way for a camp run.  On the other wing I successfully override the standing orders for a turn and send a Pictish light infantry unit sprinting for the Scot's camp but with my Scot's cap (should that be bonnet?) on I counter that with a Scots light infantry unit in the following turn by bringing close enough to pin the Picts in their threat zone.

7. Although the Picts' left is holding men a streaming to the rear on the right wing

Things are looking bleak for the Picts now as the only command that can act has defensive standing orders so is going to struggle to advance to combat.   Poor dice rolls on the other wing are allowing units to head to the rear there.  Although the Pict's have managed to get into a good position for an attack the defensive stance stops them from capitalising on it and I failed the override dice roll for them.  A poor pip roll for the demoralised command sees four elements leave the table and that is game over.

Although not particularly heavy, the losses will have an impact on both sides the Picts have lost three elements and the Scots two.  At least the King of Picts was able to escape the disaster.

The Pictish chronicles simply recounts 

'The fury of the Scotsmen knew no bounds'

This game taught me a few things about these troops.  Fast pike are capable troops but only if well deployed the +3 rear support bonus would have made a huge difference had I been able to use it.  It was only the poor initial deployment that worked against them and I should have redeployed the line to get them into good going.  The terrain made no difference to movement for the infantry as both sides have fast foot or solid auxilia who are not slowed in bad going.  Still the Picts are not going to let a little thing like two defeats in one turn change their ambition and they will be be back.

Friday, 9 October 2020

The Dark Ages campaign - 799AD Scots v Picts setting the stage

With the dawning of 799AD comes new strife. It's in the North in the lands of the Picts and Scots where a dispute over the little travelled region of Comgail has erupted into armed conflict. Although nominally allied under a single family in reality there are different clan allegiances within the ruling blood lines and it is by no means certain which line of descent will rule North of the Forth- Clyde line.  The Pictish side of the family have decided to strengthen their hand or at least weaken the Dal Raidian side

The Picts have assembled a royal army led by High-King  Caustantin mac Fergus which extends the area they can recruit from.  The Dal Raidian Scots have a much smaller recruitment base but are assembling every fighting man they can muster under their King Taidg mac Donncoirce.  For this clash the forces arrayed are as follows:

Pictia will have two commands.  King Caustantin has the first command of 8 elements and the Mormaer of Moravin commands the second made up of 12 elements.  These consist of:

  • The King (Cv) plus 1 x Cv, 4 x 3Pk and 2 x Ps.
  • Mormaer of Moravin (Cv) plus 1 x Cv, 2 x LH, 5 x 3Pk and 2 x Ps.

While Dal Raidia is fielding a single command of 11 elements commanded by King Taidg

The King (4Ax) plus 3 x 4Ax, 5 x 3Wb and 2 x Ps

This is the second outing for the Picts in this campaign turn and losses from the earlier fighting have reduced their numbers.  Strath Erin is still recovering from casualties suffered against the men of Alt Clut.

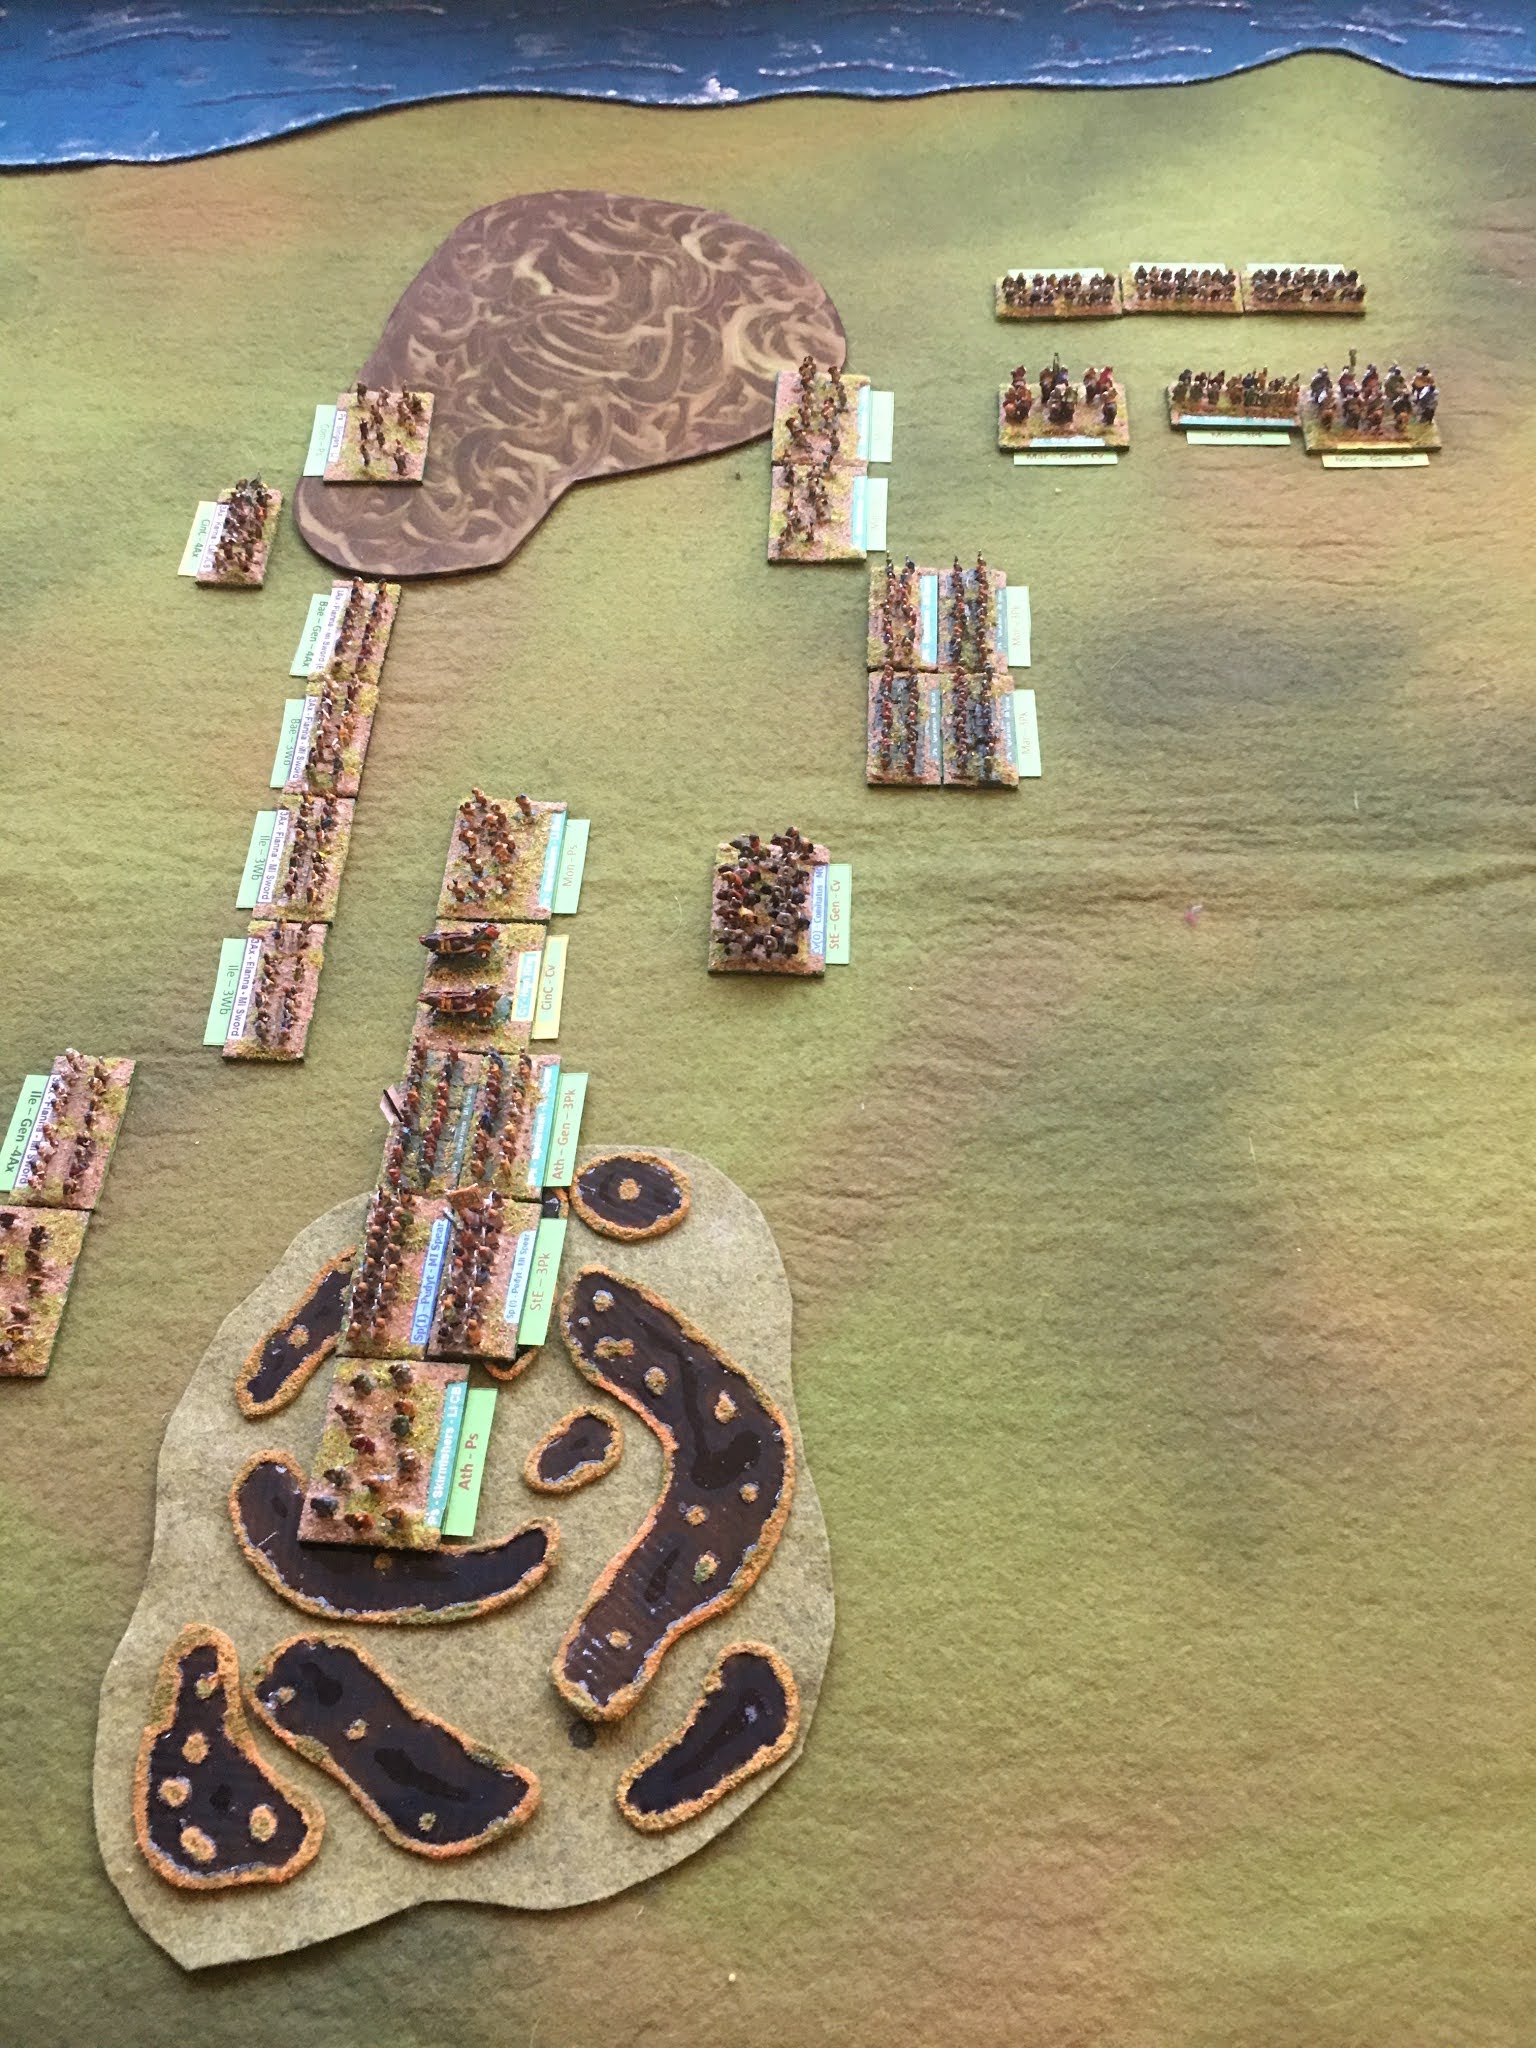
The Dal Raidian Scots will be the defenders and will choose the terrain.  The dice gave me the Scots so I can determine the terrain without using the solo rules.  Their home terrain is Littoral so I chose a waterway (compulsory) a difficult hill, a marsh and a woods.  It will look something like the image below.  Picts deploy on the bottom edge Scots on the top.

It will look something like this.

In reality we don't know for certain who was king of Dal Raidia at the turn of the 8th Century.  the Annals of Ulster give names but these may have only been kings of the Irish Dal Raidians.  Still I needed a name for the campaign so King Taidg mac Donncoirce it is.

Wednesday, 30 September 2020

Mercia 798AD - The battle of Wudiandum continued

At the end of the last post things the West Saxon centre was finally in action, their right was potentially in trouble as the Mercian command facing them was getting it's act together and the left was starting over the river to come to grips with the Mercian right wing.  As far as I can tell (I haven't started to play the rest of the game as I write this introduction) the key to this battle is the fight in front of Wudiandum village.  If this goes against the men of Wessex the flank of their main command will be open.  Although they have a few troops in reserve in a second line in the centre the time needed to get them into a new line to cover this risk may not be granted them.  The fight over on their left is almost a separate battle as even if they should win over there it would be a big ask for those troops to re-enforce the centre because of terrain restrictions.  No pressure then!

Its the start of the third hour of this battle (in game time).  The Mercian shield wall pushes back in the centre but make little headway.  They are slowly and methodically setting up a shield wall on their left and have rushed what troops they can towards the river bank on their right.  It would help if they could roll well just once.  The West Saxon reply is to keep the meat grinder going in the centre and to push more troops across the river on their left.  On their right where they really need to disengage they roll 1 pip!  It's not just the Mercians the dice have it in for.  The only good news for the hard pressed West Saxon right is that the Mercians just can't get a decisive attack in to push the command over the edge, all they achieve is a series of recoil results which helps the West Saxons by opening up some space between the lines. 

1. Fighting on the river bank as the Wessex Left command attempts to cross

The next few turns see the West Saxon left slowly chip away at the Mercian command facing them.   The Mercians are hampered by inconsistent dice rolls, whenever they have the chance to be aggressive the pip dice is against them.  As a result they are forced to give up the defence of the river bank allowing the West Saxons to gain a toe hold.

2.  It's soon more than a toe hold, but the Mercian defenders look to be ready for the onslaught

Once the West Saxons are over both sides face off against each other but the Mercians are soon on the back foot.  How are things over on the other flank?

 
3. On the Mercian left things look better, for the Mercians!

With a couple of good dice rolls in succession the Mercian left wing recovers from it's earlier confusion and continues to advance.  The West Saxons seem to have the same problem the Mercians have on the other flank.  They are slowly pushed back but the Mercians just can't seem to get their act together and fight as well as they manoeuvre.

4. The king glances towards his threatened right flank

The centre is getting messy with recoils on both sides fragmenting the shield wall.  The Mercian's manage another kill here but its anything but decided as yet.

5. The central commands pushing and heaving

The West Saxon right proves remarkably resilient and despite being one element loss away from demoralisation hangs on in the face of repeated Mercian attacks.  All the Mercians can do is create recoils.  This goes on for another four turns until they manage to hard flank an isolated Wessex spear element.  This tips the West Saxon command over the edge.  Now they are demoralised and all the Saxon Sub General can use his pips for is to hold elements in place. Where he doesn't have the pips to hold elements in place they flee towards the rear base edge each turn.  Even then he gets decent pips and manages to fight a reasonable withdrawal action.

6.  See that gap between the two units facing each other?  There were West Saxons there a moment ago!

The fight in the centre continues to be a mess.  The threat zones prevent any serious reorganisation of the front lines and overall the West Saxons are getting the better of things.  This continues until the Mercian centre is one element away from demoralisation with the West Saxons nowhere near that state.  Both sides are throwing their reserves forward but the Mercians are trying to fill holes in the line while the West Saxon's are hunting for overlaps.  The two Kings are both in the thick of things now and in danger of getting isolated.  They tend to have the better of combats because of the plus one for a general in combat and as they are blades they pursue while any spear elements around them don't.

As the Mercian left continues to push the demoralised West Saxon command facing it slowly backwards options for detaching elements to go to the aid of the beleaguered centre start to present themselves.  However on the other wing a disaster is unfolding.

7. The Mercian right: a lone element of spears is in deep trouble attacked frontally and in flank

Over the last few turns the Mercian right has taken steady casualties until it is only one element away from collapse.  The West Saxons exploit the gaps created by defensive tactics and low pips and pounce on an isolated element of spears. Unbelievably the dice off is a draw on the first round and it is in the following Mercian combat round that it is killed.  The command is now the second to become demoralised.  The next two turns are inconclusive the centre has no decisive fights but gaps are opening up and the Mercian left is slowly hooking around onto the exposed flank of the West Saxon's centre. 

8. The Mercians teeing up the flank attack against the centre

It takes a while for the Mercian left to move into position against the open flank of right flank of the West Saxon Centre.  Part of the command is shadowing the fleeing West Saxons (aka not enough pips to bring them over to join the preparations for the attack).  In the centre of his command I imagine that King Beohtric is having a Wellington at Waterloo moment "Give me Bearruc Scir or give me dark" kind of thing. and the day is dragging to a close after close to 4 hours fighting but dark is still a ways off.  However over on the West Saxon left the men of Bearruc Scir and Dorseate have finally broken the Mercian command facing them and a racing through the woodland to the aid of the central command.

The Mercian assault goes in, but trouble is brewing at the other side of the field

Things are now very close the Mercian left made up of the Fyrds of the Wrocensaetan and Hendrica slam into the open flank of King Beohtric's centre In the first moments of the attack aa west saxonlight infantry element is destroyed and the end of the line is forced to recoil.  It is only the fragmented nature of the line that prevents major casualties as there are no units to the rear of the recoiling troops for them to break against.  In the West Saxon turn the dice are kind to their left wing but less so to the centre command where a paltry one is rolled.  I use this to pull the King's element back thinking he may be needed to help bolster up the right flank.  Both central commands are at breaking point one element away from becoming demoralised and ending the game.

The next turn starts with the Mercians continuing the assault on the West Saxon centre but the central command is handed a defensive tactical stance and the best they can do repair their line the left is aggressive but has only one pip and can't make any significant contact with the enemy.  King Beohtric breathes a sigh of relief.  There is one final roll of the dice now for the West Saxons, literally so in fact!  Another high roll for the left allows the men of Bearruc Scir to crash into the Mercian centre.  They lose an element but the second attack kills a Mercian spear and then to add insult to injury the central command kills the Heathtroop of Ealderman Aethelmund of the Hwicce.  Dicing for the command casualty shows that the Ealderman died with his men.  This ends the West Saxon turn and the game.  It was a close run thing the Mercians could have, should have won it the turn before if the dice had been kinder.  The final casualty count was 10-11 in favour of the West Saxons.  A pyrrhic victory that badly weakens both kingdoms for the rest of the campaign turn. 

The end of the affair but both sides have suffered heavy casualties
 

This was the biggest game I have yet fought using DBA and I found that the BBDBA rules have a few wrinkles which need to be ironed out.  The demoralisation rule is one of them.  I like the concept, in fact I like it a lot, but is assumes that the commands will always be 12 elements, or more accurately, that they will be exactly divisible by three.  At least I assume that to be the case as the rule is that a command becomes demoralised once a third of it's units have been lost.  The rules have no mechanism for coping with commands not divisible by three, nothing to say round up or down for example.

So I have introduced a house rule.  Divide the number of elements by three and if it is not a whole number round down to reach the trigger loss number.  However the demoralisation trigger point is 'once that number is exceeded' not once it is reached.  So a command of 14 elements divided by three gives a demoralisation trigger of 4.66.  Round that down to a value of 4.  So that has to be exceeded so hitting a loss of 4 elements equals it but doesn't exceed.  Hitting 5 does exceed the trigger point (and for completeness sake also exceeds 4.66) so that's sorted then.  I also think that the standard DBA rule of Hordes not counting as a loss and perhaps extending that to light infantry as well.

I also decided after the battle that demoralised troops should take a minus one to combat dice if they ever end up having to fight in close combat.  I don't think I will extend that the troops who can shoot though, although that won't be a problem in this campaign as there are no archers or artillery to worry about.

The other issues is that the maximum size an army is set as three times the size of a standard DBA army.  For BBDBA historical refights the rule is use the actual number of troops converted to elements.  This means some really large commands can be created.  In the current game the two opposing central commands are both 19 elements in size.  I ignored my previous rule of capping command sizes but I think this was a mistake and will reintroduce it in any future large scale actions.

All that said I do rather like the BBDBA version of DBA3.0  it feels more like a historical battle, not that I have ever been in one to know for sure!

Oh and I almost forgot: the mandatory chronicle entry.

798AD Mercian chronicle

And in this year did Beohtric of Wessex basely break from his allegiance with his sworn lord Coenwulf and come in arms to Mercia.  There he did ravage the land of the Hwicce until at length he was met by the King and all his host in battle.  There was slain Ealderman Aethelmund of the Hwicce and a multitude of others with him as well and the West Saxons had possession of the field.


Thursday, 24 September 2020

Dark Ages Campaign - 798AD Battle of Wudiandum

So to battle.  As previously posted I have the men of Wessex with the Mercians being run by the solo play rules.  I have decided that each command will have its own pip dice to reflect the poor command and control of the period so co-ordination between commands will be more difficult.  I’m also going to move the centre commands first for each side as they are the ones commanded by the two respective kings.


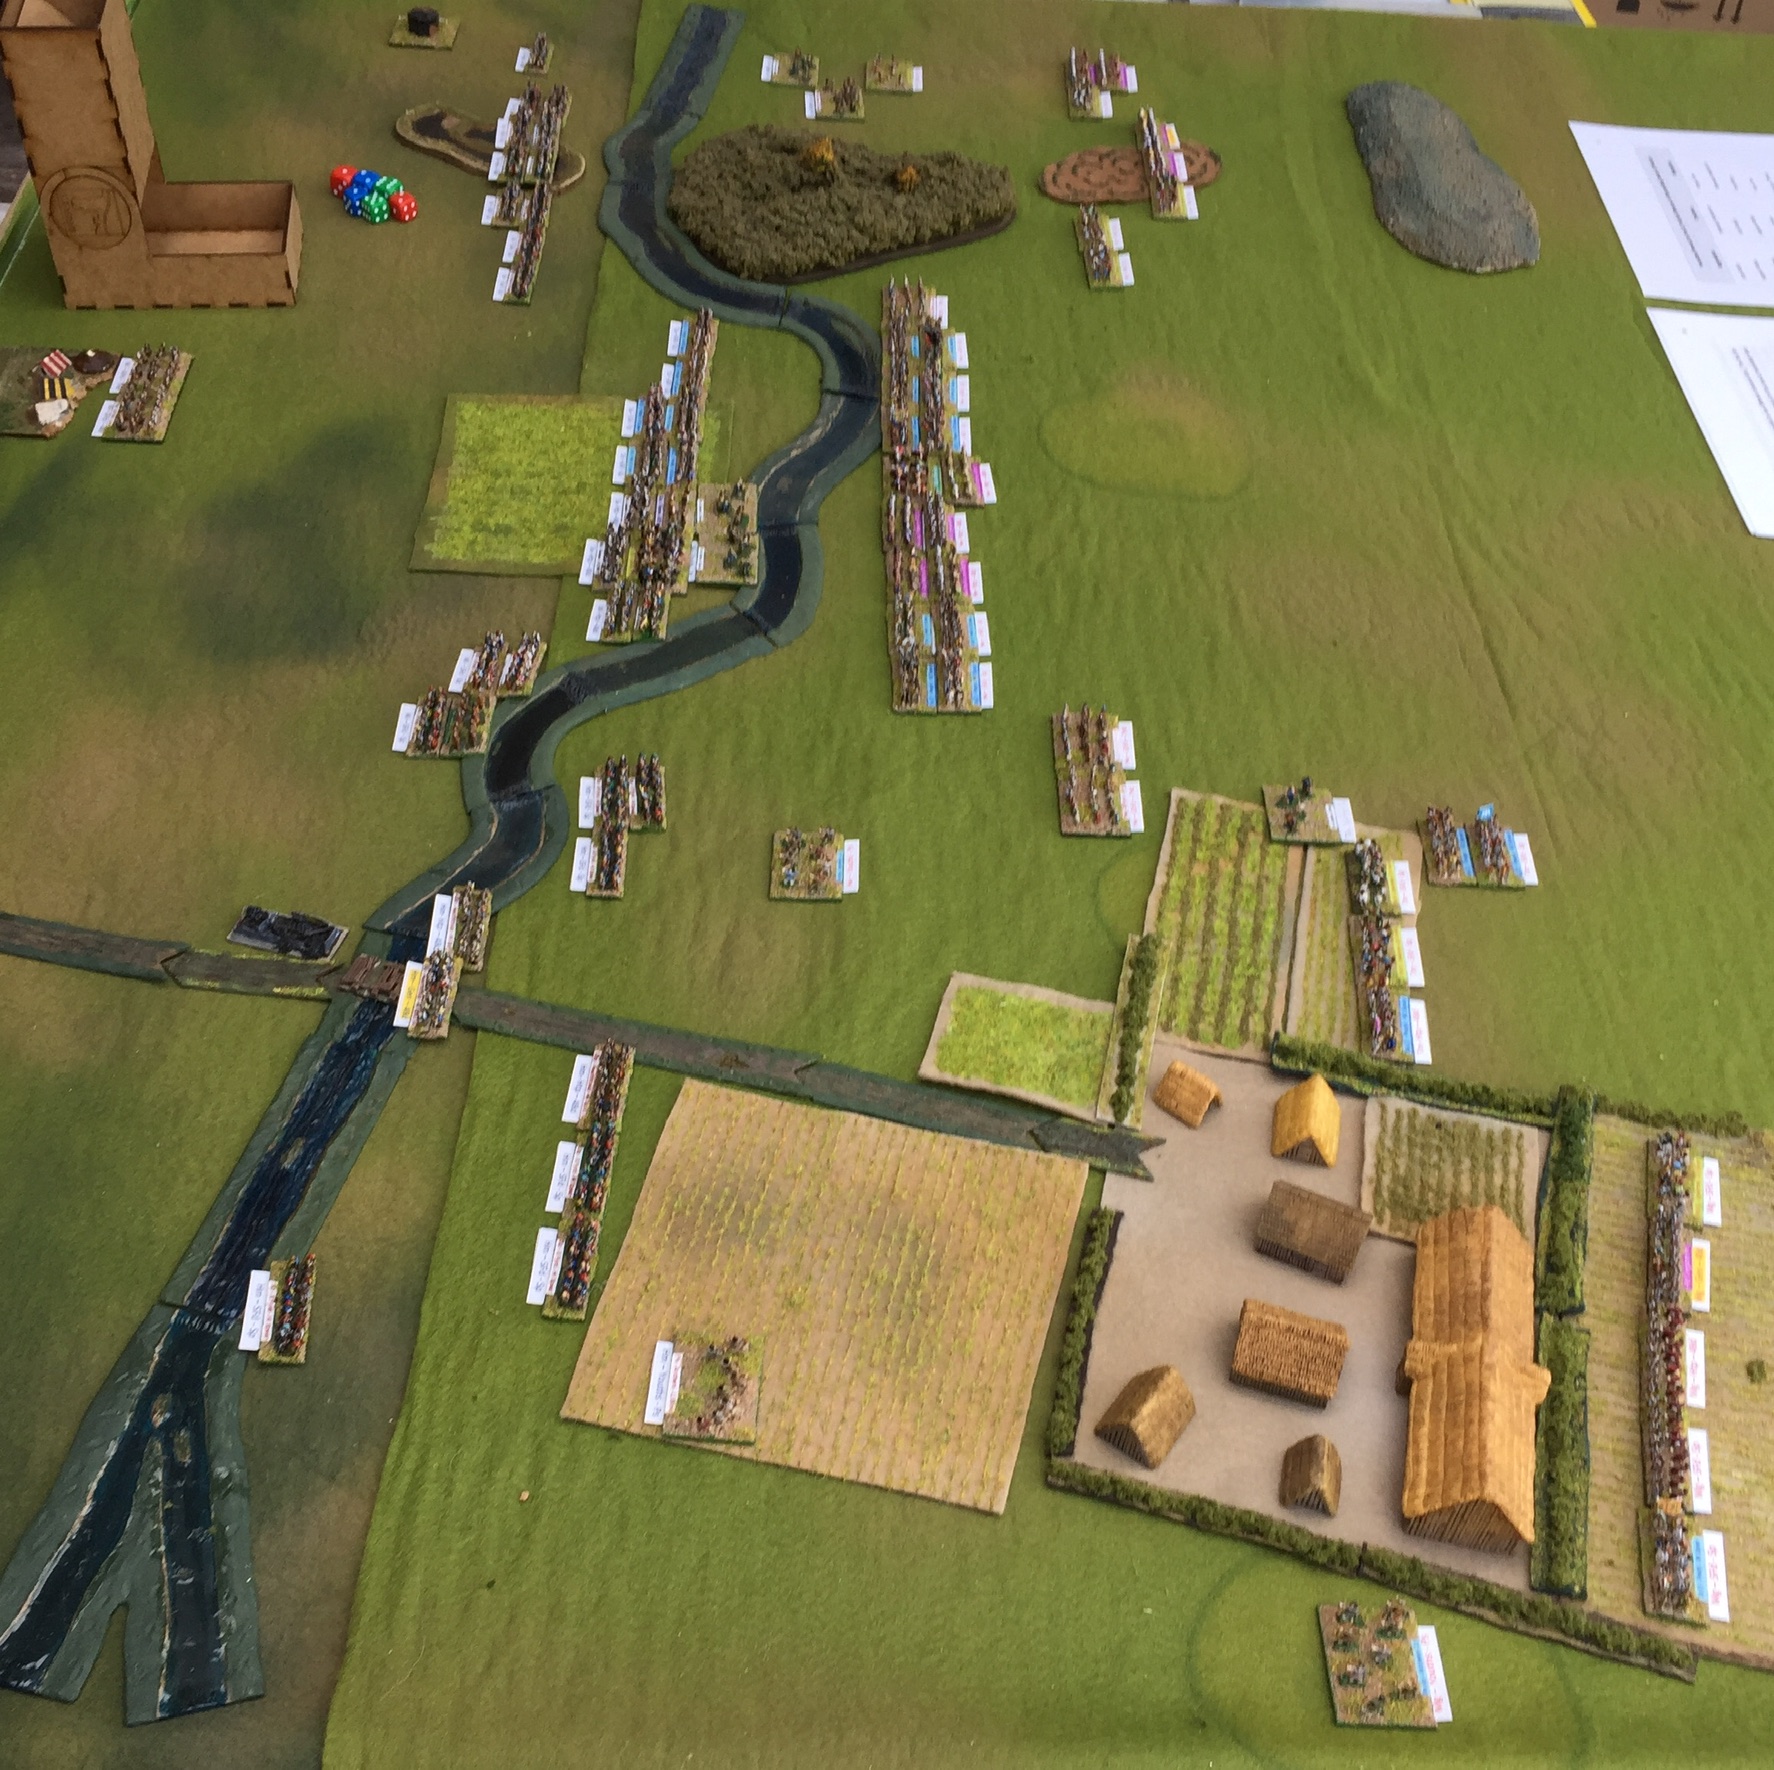
1. The initial deployments, Mercians furthest away

Both sides deployed with a strong centre and weaker flank commands.  The AI placed its troops to the front and centre of the deployment box, but it wasn't possible to fit them all in so I over ruled it and mirrored the West Saxons while staying as far forwards as possible.  It looks  neat, but trust me that's not going to last.  The Mercian pre-battle dice rolls gave their right command a defensive stance and the other two commands received neutral stances.  This impacts on the tactical choices of each command by pulling the dice result towards that overall stance each game turn.  It is still possible for a defensive command to take aggressive action but it is less likely.  The Mercians will move first each turn which may or not be of benefit.

The first couple of turns see both sides pushing forwards.  The west Saxons are the first to have their formation come apart as the rush to get across the river before it turns into a contested crossing.  The river turns out to difficult to cross.  This means that only single elements or columns of elements can cross for each pip expended, movement is slowed and defenders gain an advantage against troops crossing.

2. West Saxon start crossing the Coln

The first to start crossing are the troops on the right of Wessex's line.  The light infantry are not slowed but the shield wall's tight formation breaks up and the close order infantry are slowed.  In the centre the line is moving up towards the river in a race to get there before the Mercian's can line the far bank and contest the crossing.  Middle Anglo-Saxon's may not be the most tactically clever armies but even they know a disputed river crossing is not a good thing!

3.  The crossing continues on the West Saxon right.

The crossing on the West Saxon right is unopposed as the Mercian command facing them is in disarray!  They rolled aggressive but couldn't easily follow the instruction and became tangled up in the approaches to the village.  Their line fragmented into a number of small groups.  In the centre the Mercians are also rushing forward towards the river having rolled an aggressive stance and decent pips.  On the far side of the table West Saxon light troops are over the river and fronting up to their Mercian opposite numbers. On that flank the Mercian command is slowed while they are traversing woodland.  


4. The view from the Mercian right wing.

By the next turn the Mercians have reached the river with their central command but are unsure about what to do (a low pip score limited their options).  Light Infantry are exchanging arrows and insults on the right and the Mercian left is in a real mess.  The nice neat line has broken up around the village and with instructions to take aggressive action they are throwing small groups of men forward to attempt to come to spear thrust and sword stroke with the enemy before they can reorganise their shield wall after the river crossing.  As a result they close as fast as possible but as the line attempts to move around the left of the village the formation ends in total confusion.  This is one of the points with the solo rules, orders from the AI can result in odd decisions and if the dice swing back and forth between aggression and defence it can result in this kind of chaos.  Players have the right to ignore results three times under the rules but I'm not using these yet in case I need them later.  Probably a mistake to be honest, after all how much worse could a situation get than this?


5. A closer view of the Mercian left wing, it's chaos over there

Its one of the interesting things about solo games the AI mechanics create situations and as a player I like to create a narrative to make sense of it, it also gives me a story for the AAR here on the blog.  

In the next turn the Mercian centre is following a second aggressive stance but on limited pips the entire command simply surges forwards and starts to cross the river, only for them to get a defensive stance and limited pips the next turn.  So they retreat to form a defensive line on the river bank.  I rationalise this as a rush of blood and a desire to come to grips with the invaders followed by the nasty shock when the water is cold and realising that there's a solid looking shield wall over on the other bank, so maybe we should stay this side and defend the river bank instead!  Something similar happens on the Mercian left a defensive stance roll and maximum pips allows form defensive line to be an option and the fragmented line starts to reform.  Possibly older more experienced heads have prevailed over there.

There has also been the first few clashes light infantry facing off over on the Mercian right saw a psiloi doubled by their West Saxon opponents and killed with the same thing happening on the other wing but with a West Saxon psiloi destroyed to even the score at one element lost each.  Else where West Saxon Light Infantry are recoiling and fleeing from the Mercian shield walls.

The two armies have been facing each other for over an hour in game time now with no significant fighting yet.  As you can see below the Mercian left wing is regaining some kind of cohesion and their West Saxon opponents are over the river but disorganised.

6. The Mercian left starts to reorganise while their opponents are still struggling to reform their line

This would be a good turn to get good aggression scores and high pips.  Which is probably a good point to show how I'm handling the AI dice.  I roll red for the left (port in nautical terms), green for the right (so that would be starboard) and blue is the central command.  The relevance of the nautical terms is that boats and planes show red lights to port and green to starboard so the colour s help me remember which dice goes to which command.  The larger dice give me the aggression (before adjustments) and the small ones the pips.  These need to be thrown together as the pip score adjusts the aggression score low pip reduces aggression high pips increase it.

8. The Mercian dice, red for port, green for starboard,  blue you can guess.

So having said this would be a good time to roll lots of sixes what we get is the above!  Its about typical for the Mercian dice so far.  The left and centre are feeling like attacking but don't have many options other than go straight in while the right has decent pips but is feeling a touch nervous.  Hey ho (or what ever the Mercian equivalent is) you do what you can with what the dice provide.  Its enough to start a moving into the village on the left and consolidating in the centre.


9. The Mercian left more organised but still tangled up in the village

Now the West Saxons take the bull by the horns and with a decent pip score their central command storms over the river and slams into the Mercian shield wall.  The Mercians are pushed back with recoils but only one casualty.  The flank commands continue to slowly advance and the first troops from the left hand command cross over the Coln to the Mercian held bank.  This is getting to look like a fight now.

10. Wudiandum still in Mercian hands

The Mercians still hold the village, mainly because the West Saxons have been slow to move against it, but there is a fight coming.  The fighting in the centre is hanging in the balance both Kings have been fighting alongside their household warriors.  So far with no risk to either of them.  The shield walls a pushing and shoving but there have been few casualties as yet.

11. The aftermath of the attack in the centre both Kings in the thick of it.

Which is where I am leaving it for this post.  I will finish the game and post the last part of the AAR in a day or two.