A question was raised about whether the four infantry brigades of Essex's army at Edgehill would be better depicted in Fast Play Pike and Shot (FPPS) as double width (or two separate bases). To consider this we need to do some simple maths and to make some assumptions. The assumptions are that we only want to depict units deployed in fighting formations. This means that Essex's men are in chequer board deployment with each brigade forming in two lines of battalia. It also assumes a frontage of 1 yard per pikeman and 1.5 yards per musketeer.
Actually, it's not quite that simple though as there are additional spaces in the ranks of musketeers to allow ranks to advance or retire during firing drills. Musketeers were drawn up as several small 'divisions' of between four and six files (also termed a 'corporalship' as each had it's own corporal to keep things in order). Rather than the entire rank filing back through the body it was common for the front rank of each of the sub-divisions to use the spaces left between corporalships for advancing or retiring between shots where firing by ranks. There were also spaces between the two wings of shot and the central block of pikemen. So those spaces need to be taken into account.
Essex's infantry brigades at Edgehill were all between 2,650 and 2,900 men strong. With average sizes for the constituent battalia running around 640 - 650 men formed up in eight ranks. To make things easier lets consider a theoretical battalia of 648 men (excluding officers and drummers stood outside the ranks) which gives 81 files (648 divided by 8). With a ratio of 2 musketeers to each pikeman that gives us three blocks each of 27 files, two of shot and one of pike. Each block totals 216 rank and file. Four such battalia would give us a brigade of 2,592 soldiers plus officers etc.
 |
| Our theoretical Battalia |
Starting with the pike block in the centre the 27 files need one yard of frontage per pike file so that block's frontage is 27 yards, easy so far. The shot are a bit more tricky as there are gaps left in the frontage to allow easier exchange of ranks from front to back of the body (or visa versa) when firing by ranks. In Dutch formations (and probably in all European tactical systems) musketeers were divided into sub divisions of between four and six files, each of which was under the watchful eye of a corporal. These had different names in different armies but here I'm going to call them a corporalship.
It's tricky to divide 27 files to make the corporalships come out even as it would need a divisor of three or nine. so we will have to fudge things a bit. Dividing by 6 would work but only if there were four corporal ships on one wing and 5 on the other, but that helpfully gives us a spare corporalship of 48 men close enough to the number of shot sent as to support a single cavalry squadron. This brings up a side question do battalia strengths represent a unit before or after shot are detached to support the cavalry wings. I'm leaning towards the before option if numbers are based upon pay returns, however we will come back to this later.
So lets assume our theoretical battalia has lost a corporal ship of shot to support the cavalry. It now has four corporalships of shot on each wing and a total head count of 384 musketeers and 216 pikemen plus officers etc. Each wing of shot has 24 files in four subdivisions. As a musketeer deployed in fighting formation requires 1.5 yards of frontage that gives us 36 yards for the men plus the space allowed for the gaps between corporalships at ,say, 2 yards each or an additional 16 yards. I make the entire frontage to be two times 36 yards (shot), plus 27 yards (pike) plus 16 yards for the spacings or a total of 115 yards.
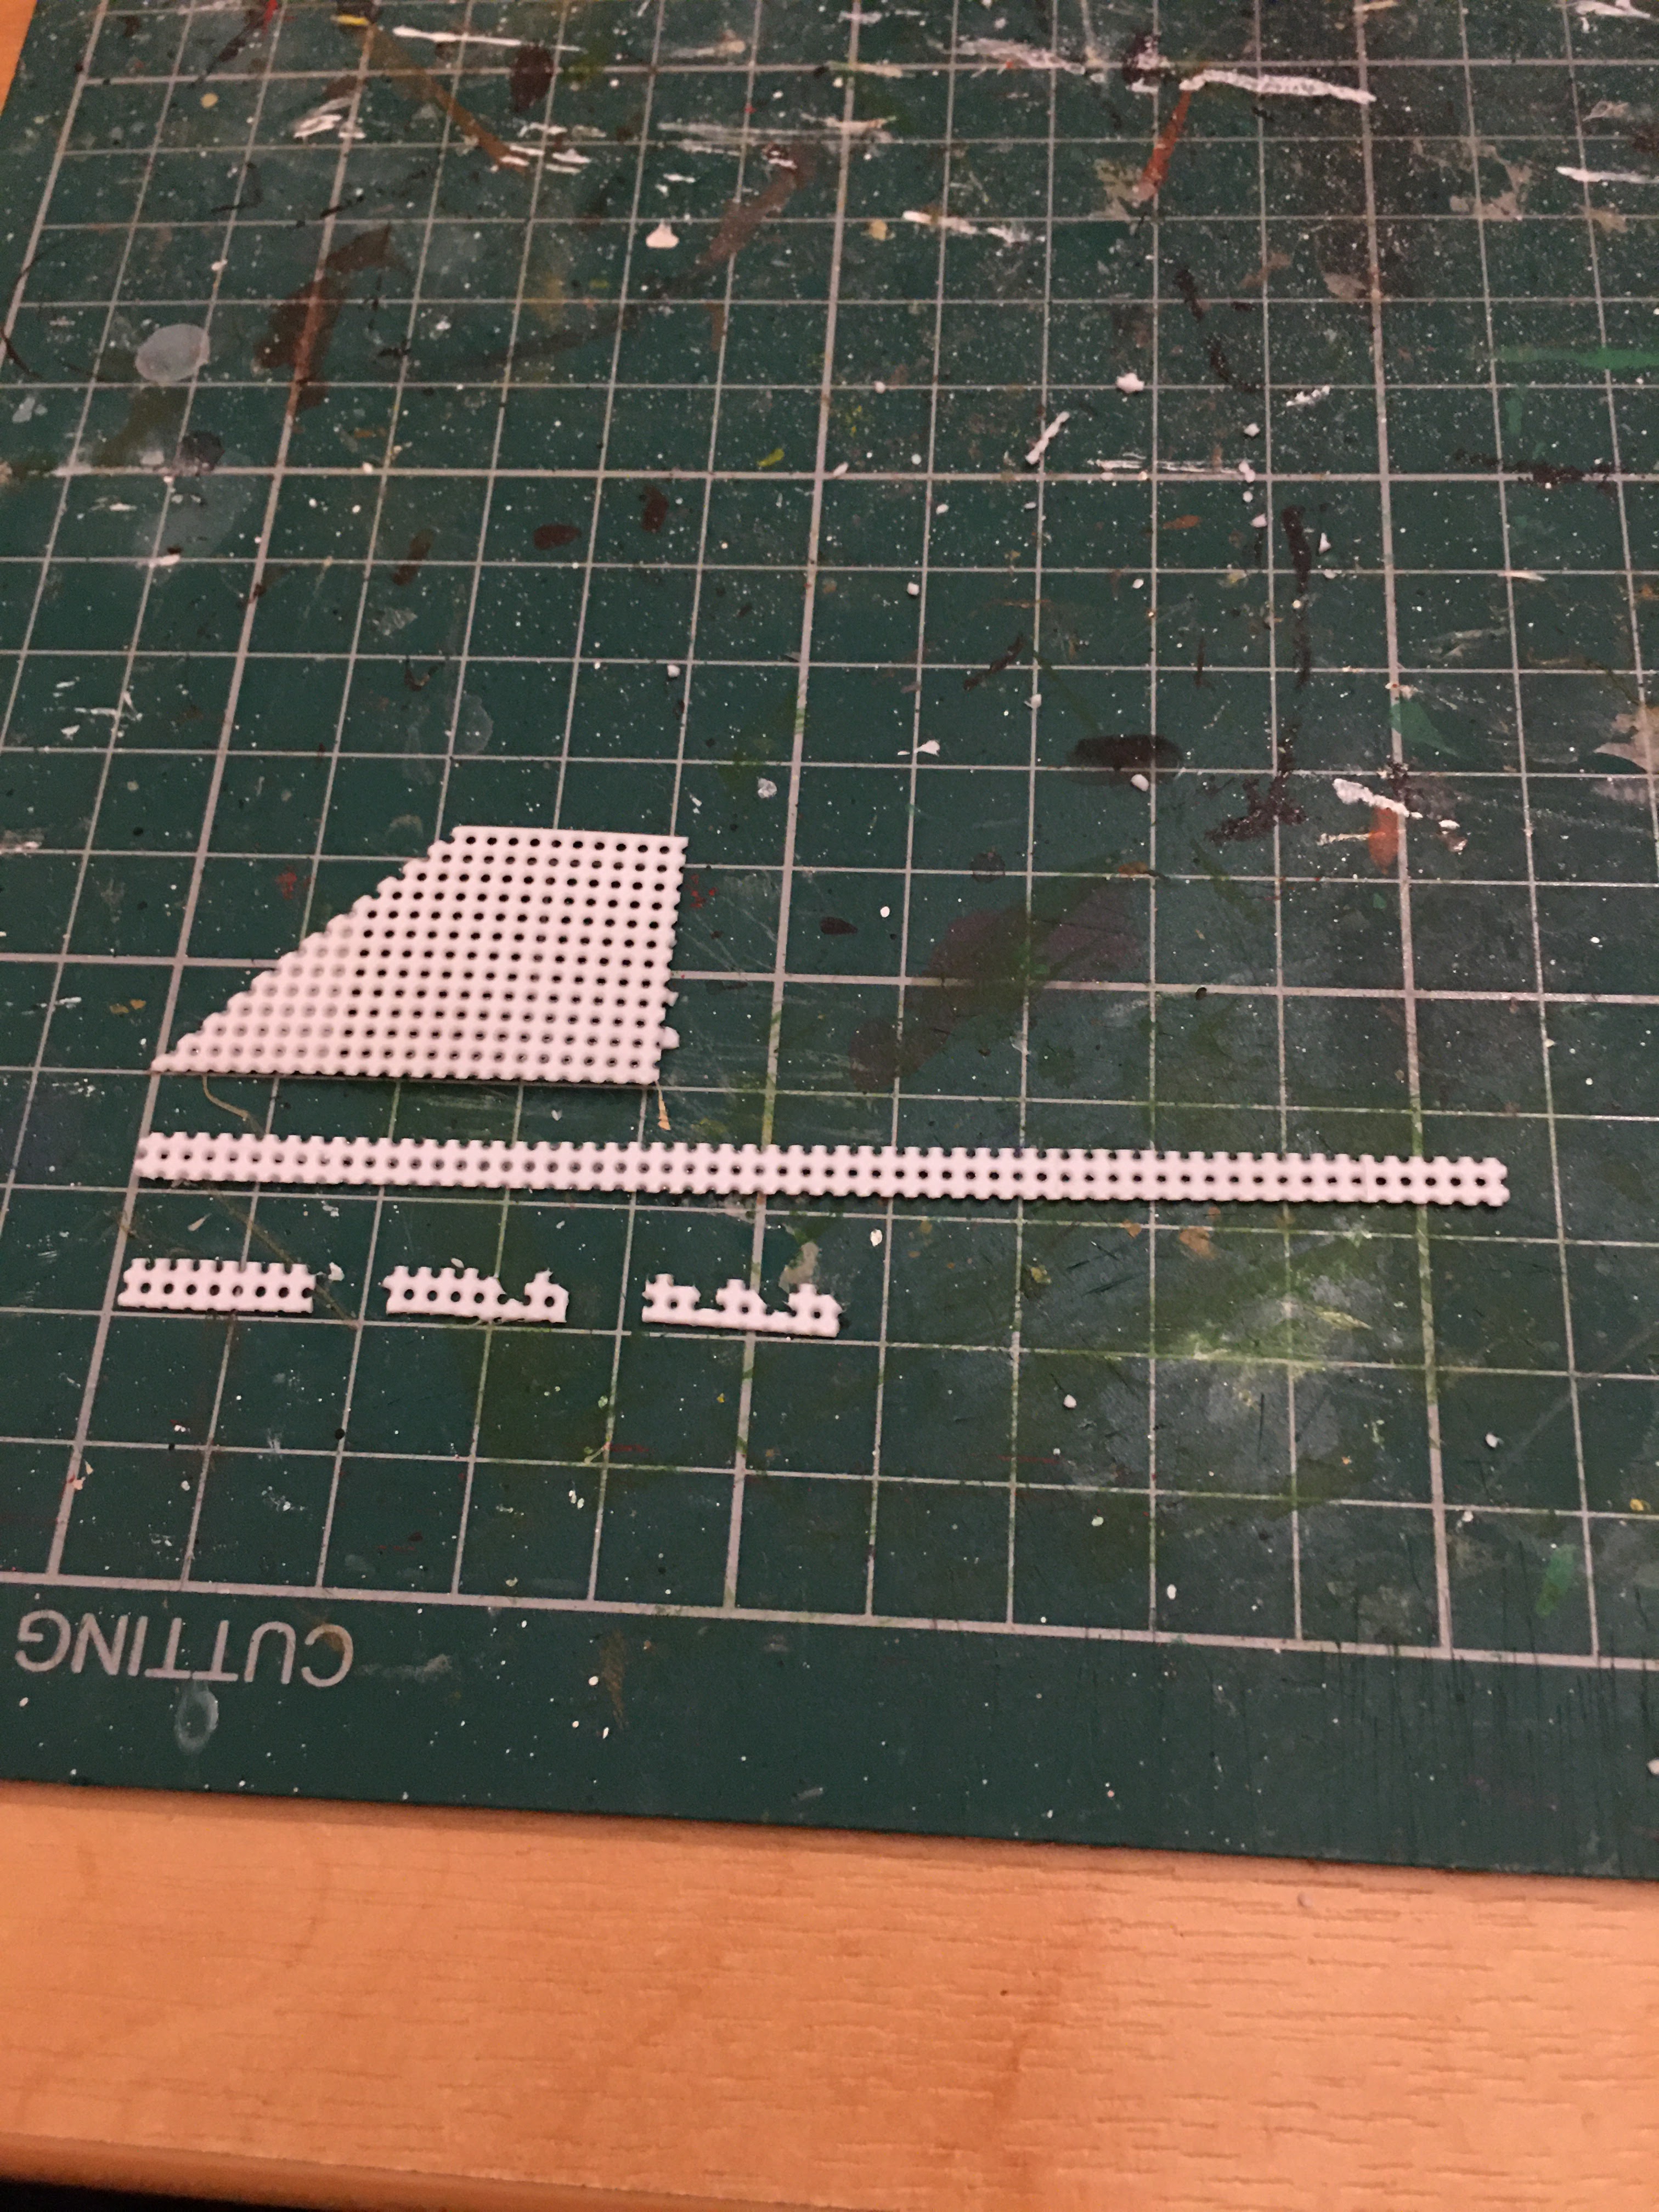
 |
| Horribly out of scale battalia laid out to show the gaps in the formation |
The small blocks are the corporalships of shot the larger one is the massed block of pikemen. The gaps are between the sub-divisions of shot and also the shot wings and the pike centre.
Last but not least on the formation aspect, the brigade frontage. Four battalia as described above gives a frontage of 460 yards without allowing any gaps in the frontage between the battalia, which would make it difficult to exchange or merge the lines if pressed. I'd estimate that a frontage of around 500 yards is the minimum to deploy one of Essex's brigades.
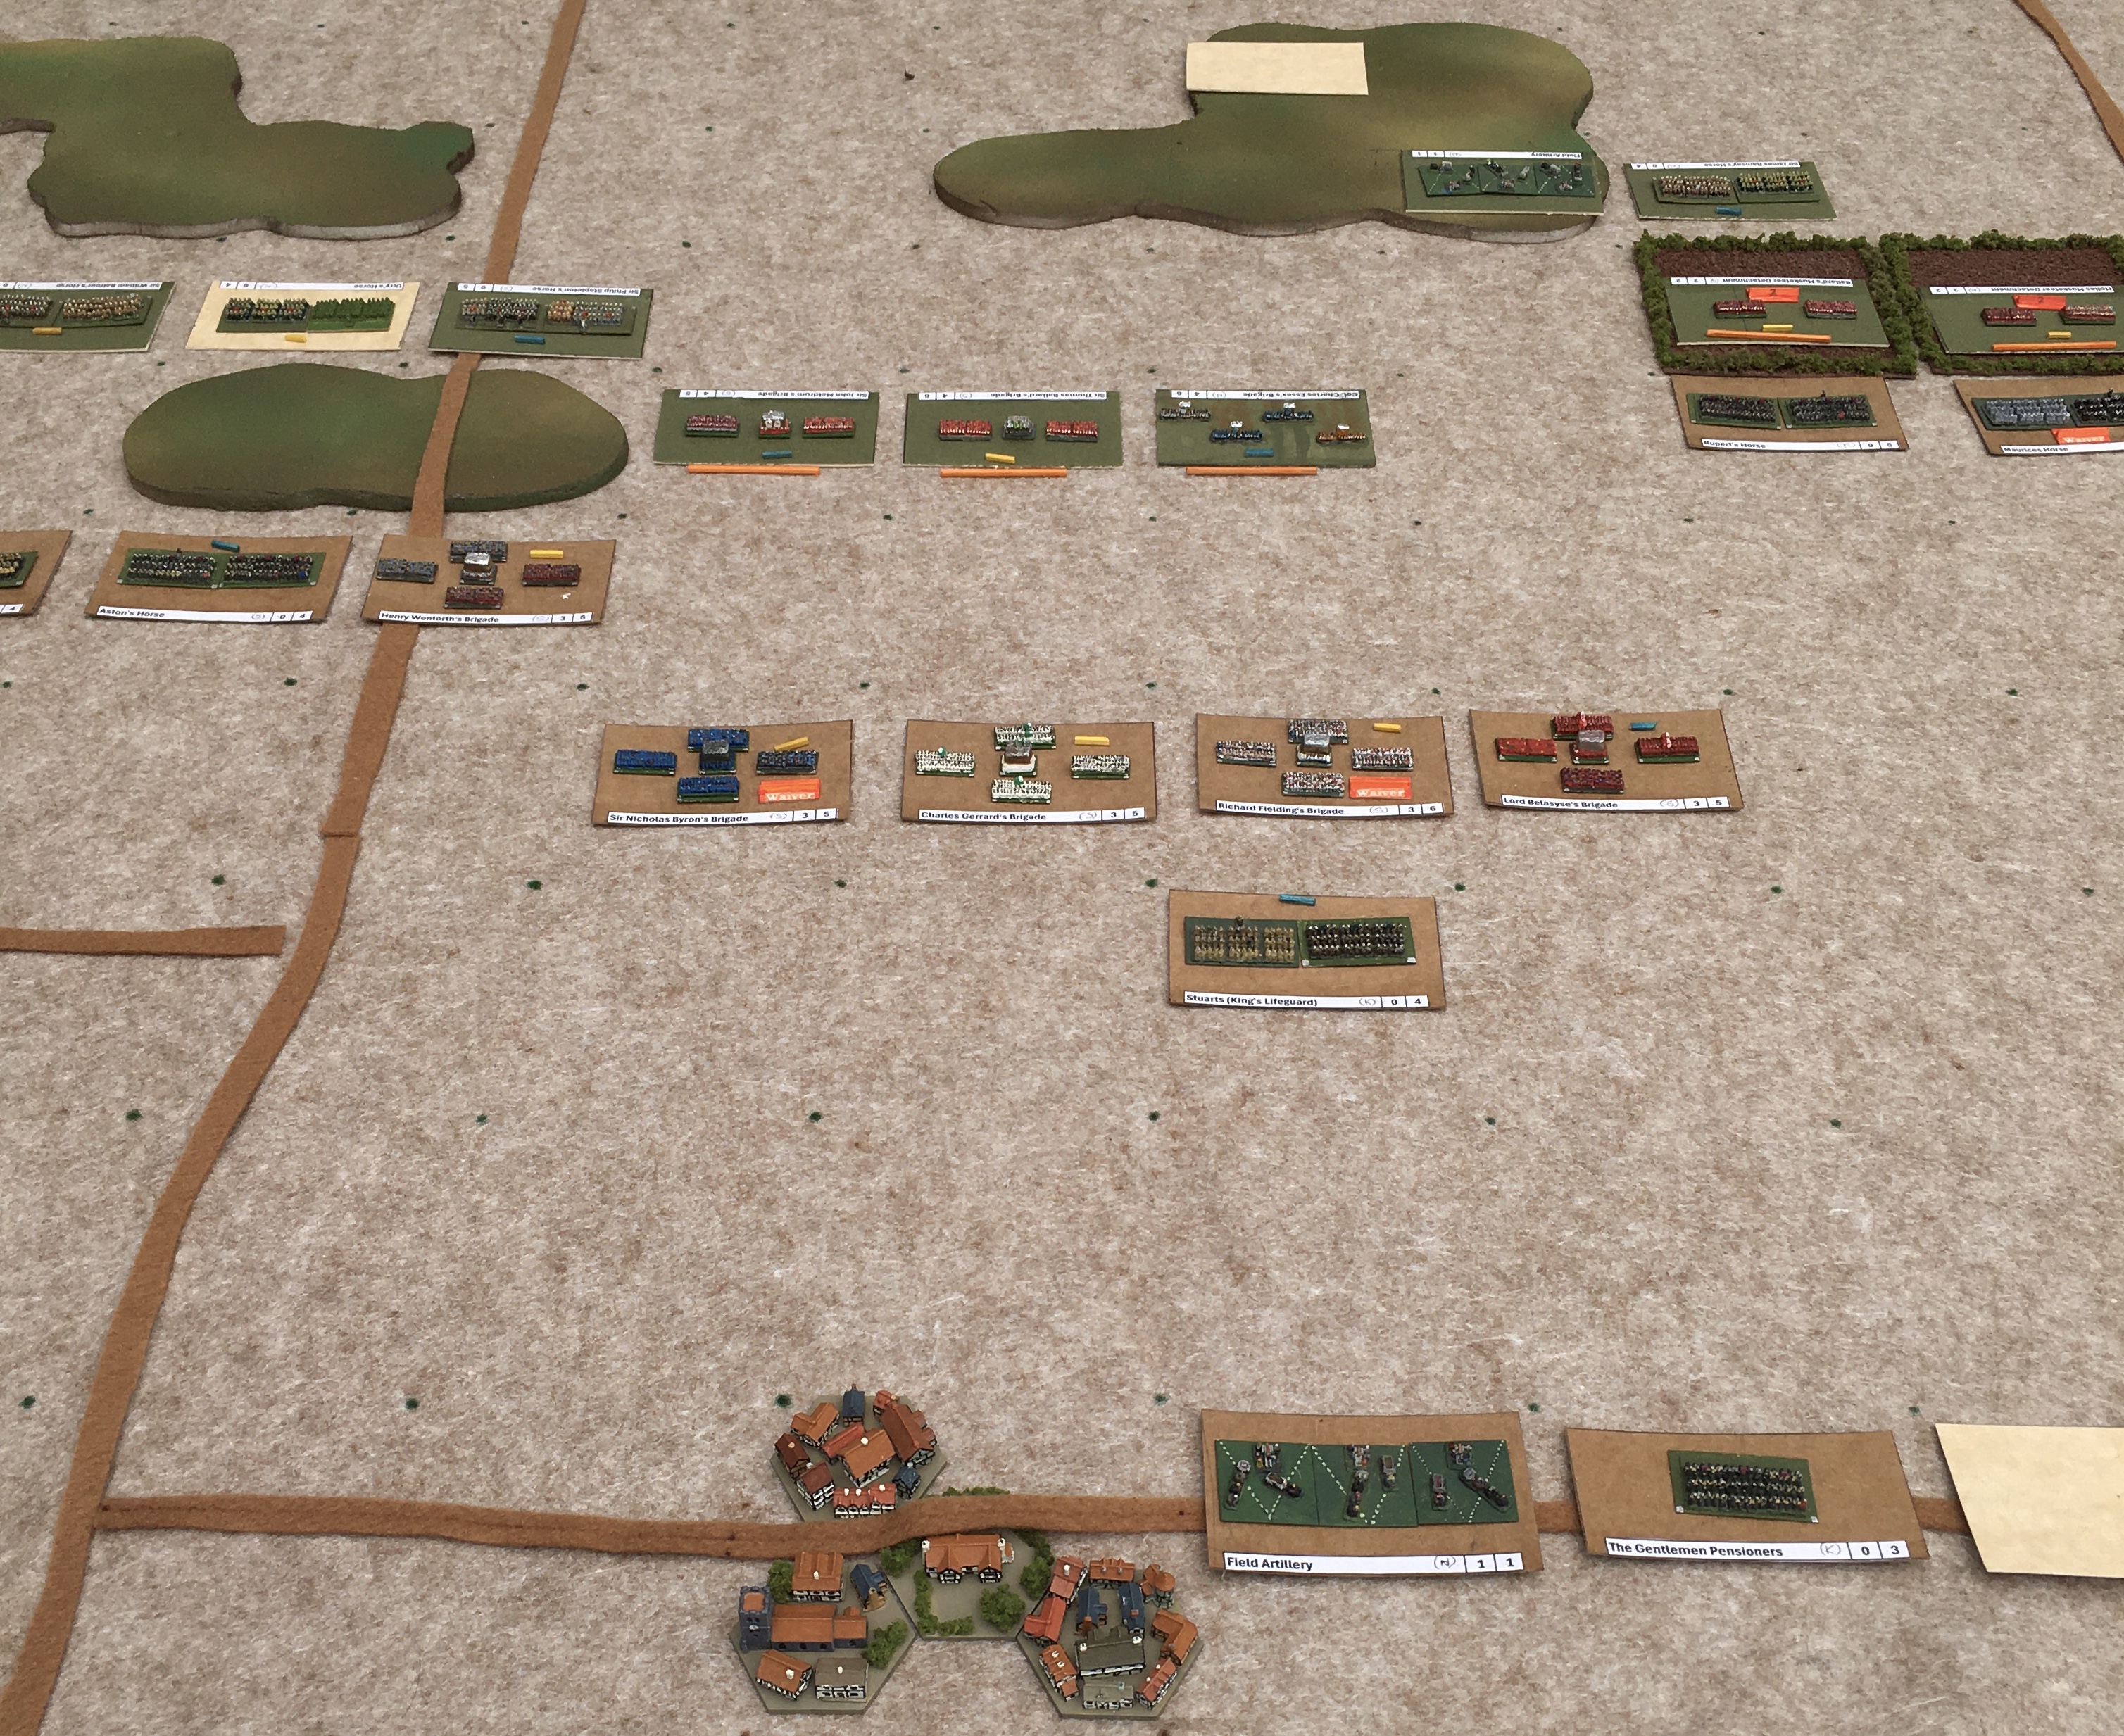
 |
| Four battalia brigade in chequerboard deployment |
The only fly in the ointment when it comes to the above calculations is that we really know very little about the way a regiment was broken down prior to deploying on the battlefield so although the above looks nice and precise in reality it is anything but. Who was included in pay returns, what percentage of dead and missing soldiers were still being claimed, how big were corporalships in a specific regiment at a specific battle, how big were the gaps between them (if they were present at all) etc, etc, etc. As a wargamer I crave precision so I can have nice neat units of toy soldiers. As an amateur historian I have to accept I don't actually have the data to allow that precision and that really I'm just dressing up an estimate with spurious calculations and that while some of the neat solutions I spot may be accurate they could also just be my preconceptions colouring the few facts we do have.
All that said I'm coming around to the idea that Essex's brigades need to be broken down into smaller formations to fit the 100 - 200 yard grid concept in FPPS. Which would match the way cavalry has already been dealt with. I'd have to calculate a frontage for each 'brigade' for each battle to determine what the break down should be but that's not that big of an ask. What do you think?