The 7 mesh was much to big for what I had in mind but the 14 mesh is about perfect. Following the idea on the 6mm post I had seen I went smaller and created an initial test strip of three horses in a file. These are almost identical in size the my favoured irregular Miniatures' castings. So much so that I wondered if they had been used as a dolly for the sculpting of their 2mm cavalry.
 |
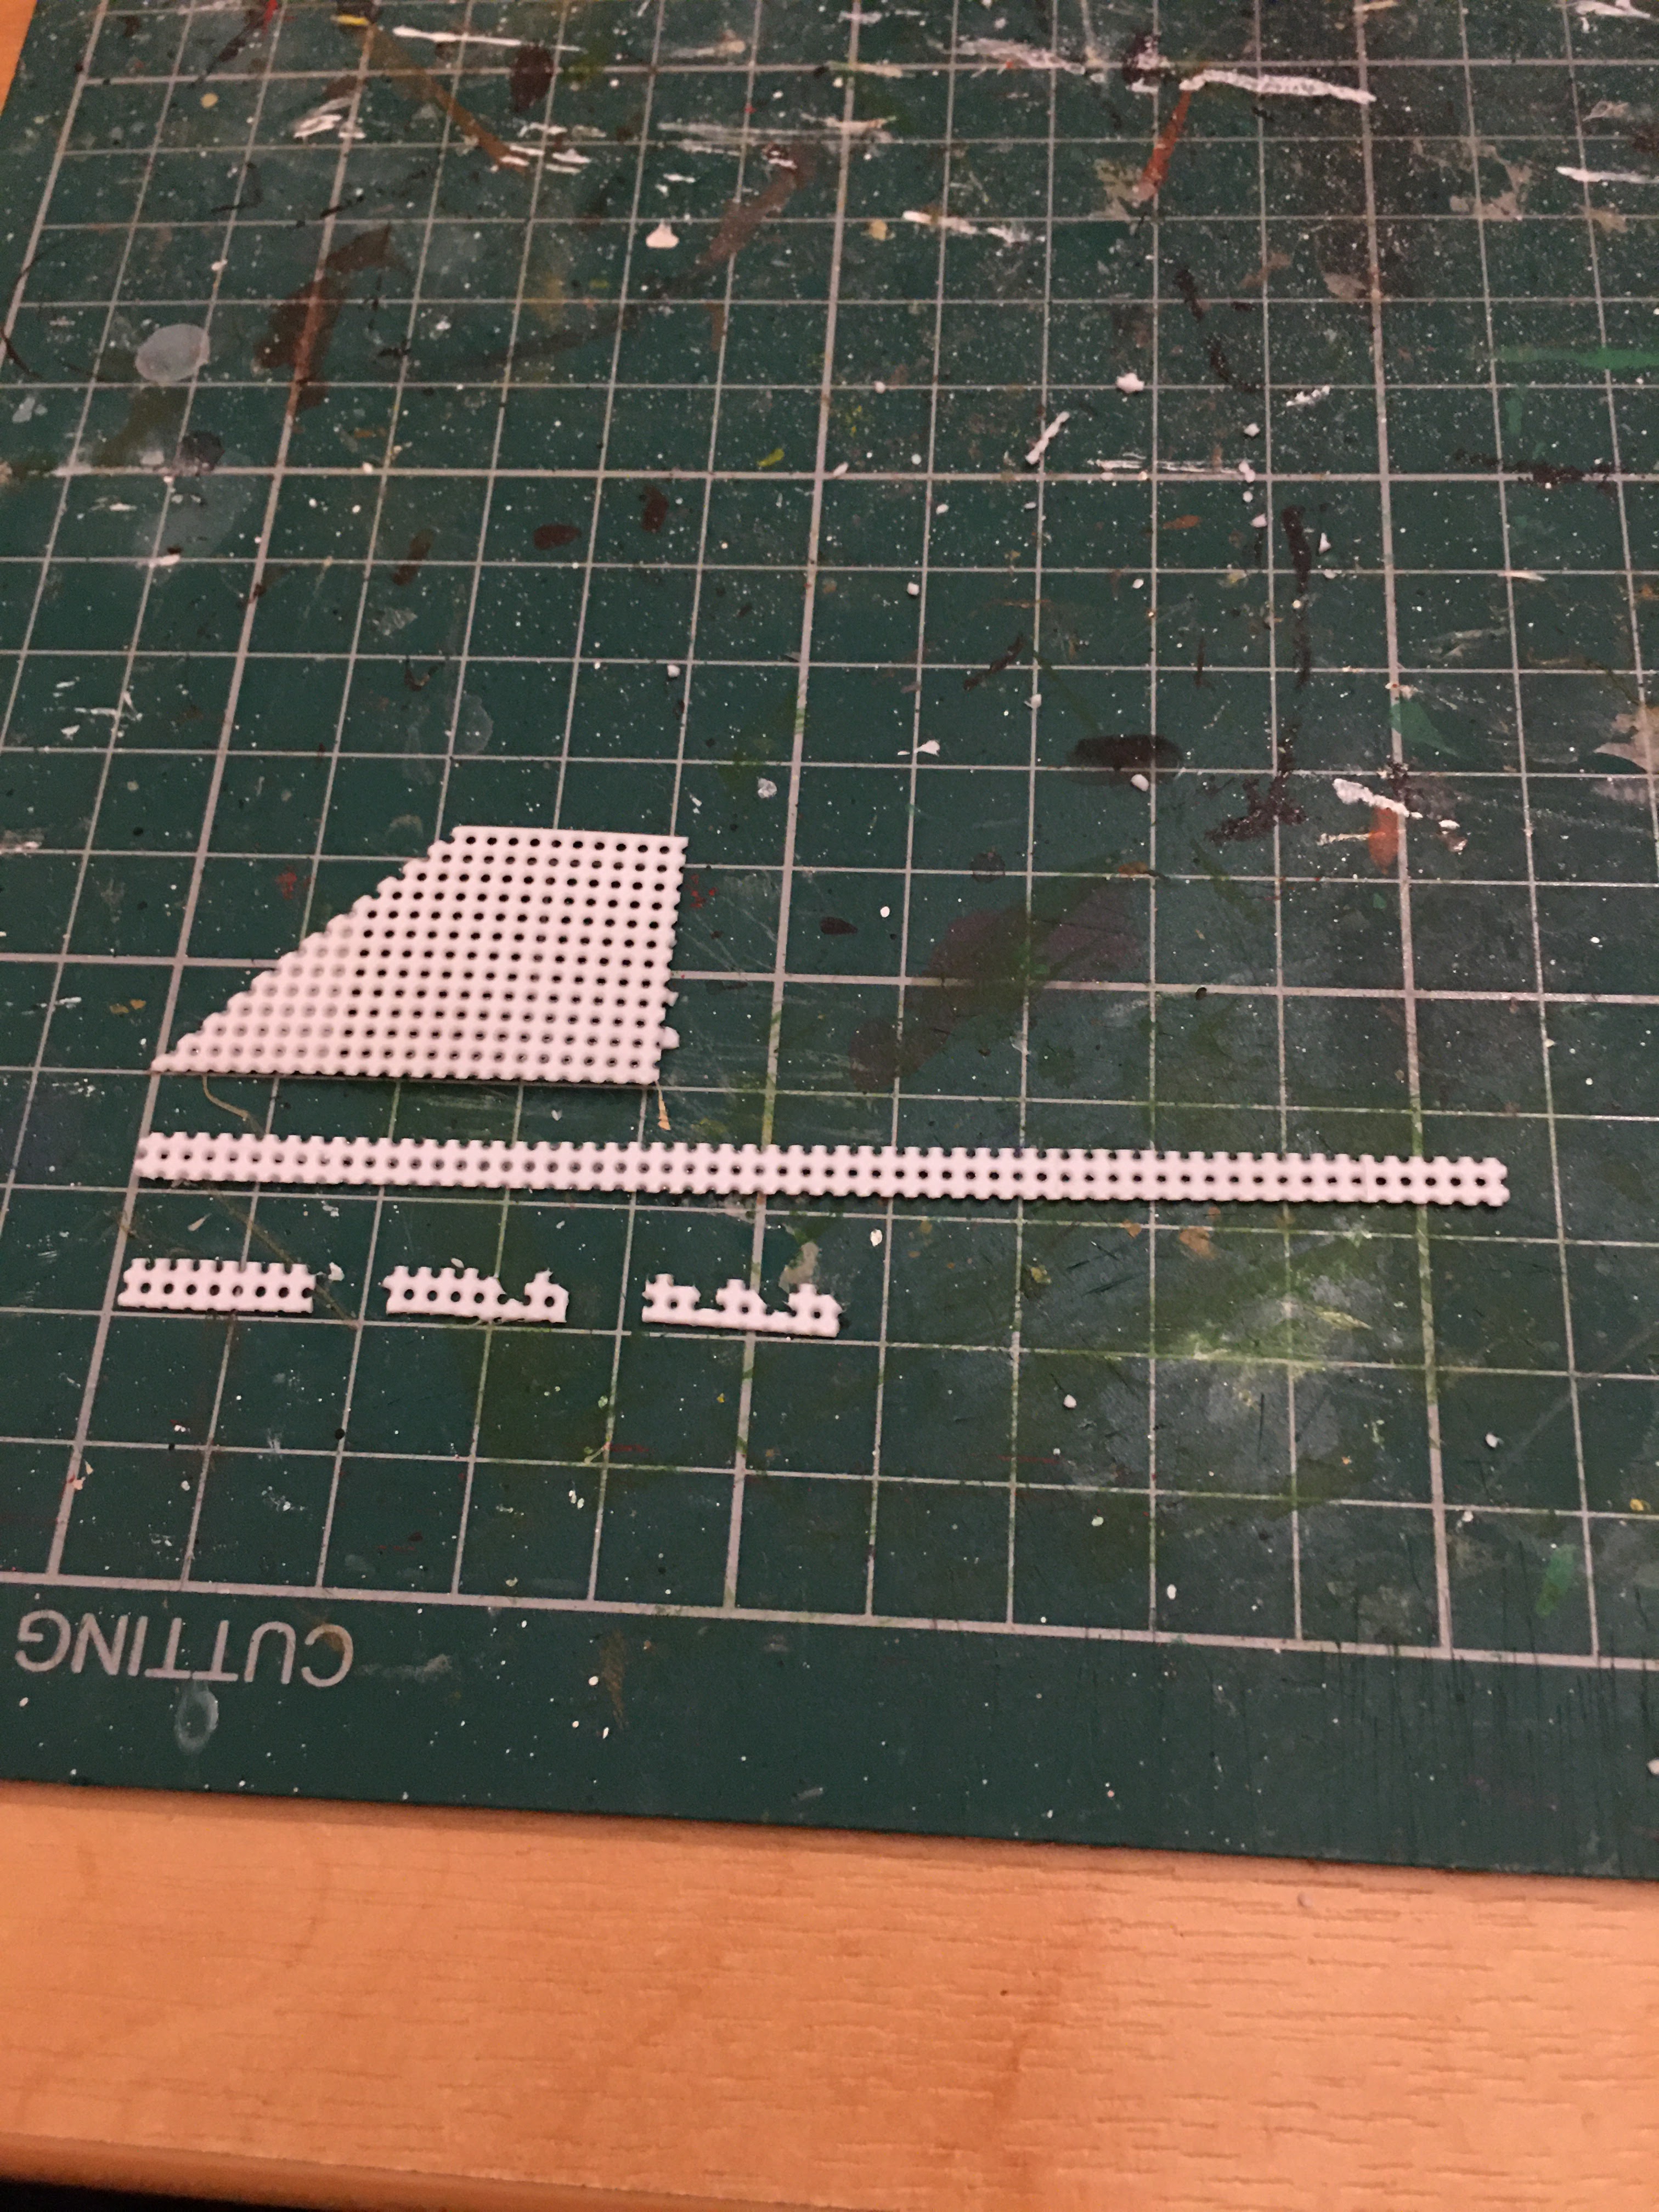
| This is the stuff I'm using |
The process is slow and unbelievably fiddly. I sharp scalpel blade is essential along with a good pair of scissors for the longer cuts. The stages of the process are shown in the image below.
 |
| The stages are in sequence top to bottom and left to right |
I had a small offcut (top of the image) which I used in the trial run. For the second run I cut a longer strip. The important point is that you keep a solid line at the base of the strip, and then cut above the top of the next full grid so that stubs are left sticking up which will be the 'riders'. Next cut the long strip into shorter sections in my case of eight stubs and keeping part of the horizontal line of plastic sticking out front and back (this will be the horses head and rump. Now comes the tricky bit, trimming this strip into shapes that vaguely resemble horses and riders seen from the side. Starting at the end of the strip (on the right in the image) trim out every third vertical and the stub over the rear vertical on each 'horse'. This leaves you with a single grid square with three stubs one at either end of the top horizontal and one above the front 'leg'. cut the back corner of each horses body at 45 degrees to create a tail. Okay so the rider is too far forward sat over the front leg, but it looks like a line of horses.
 |
| Not a great image but you can see the size comparison |
The bad news is that the individual strips are too thin and I had to glue two together to get a decent cross section view. The good news is that in groups they look OK. The worst news is that I would need to make a Metric Sh!t Ton of the little blighters. I may try to get a slightly larger grid say 10 squares to the inch which may not require two strips to be glued side by side. So it's off to the local hobby emporium to see what may be obtained before I try full scale production. Or it may still be easier to buy from Irregular, but if I don't try I won't know!
2mm scratch building eh? You don't have to bonkers to try this, but you may well be when you finish!
No comments:
Post a Comment