 |
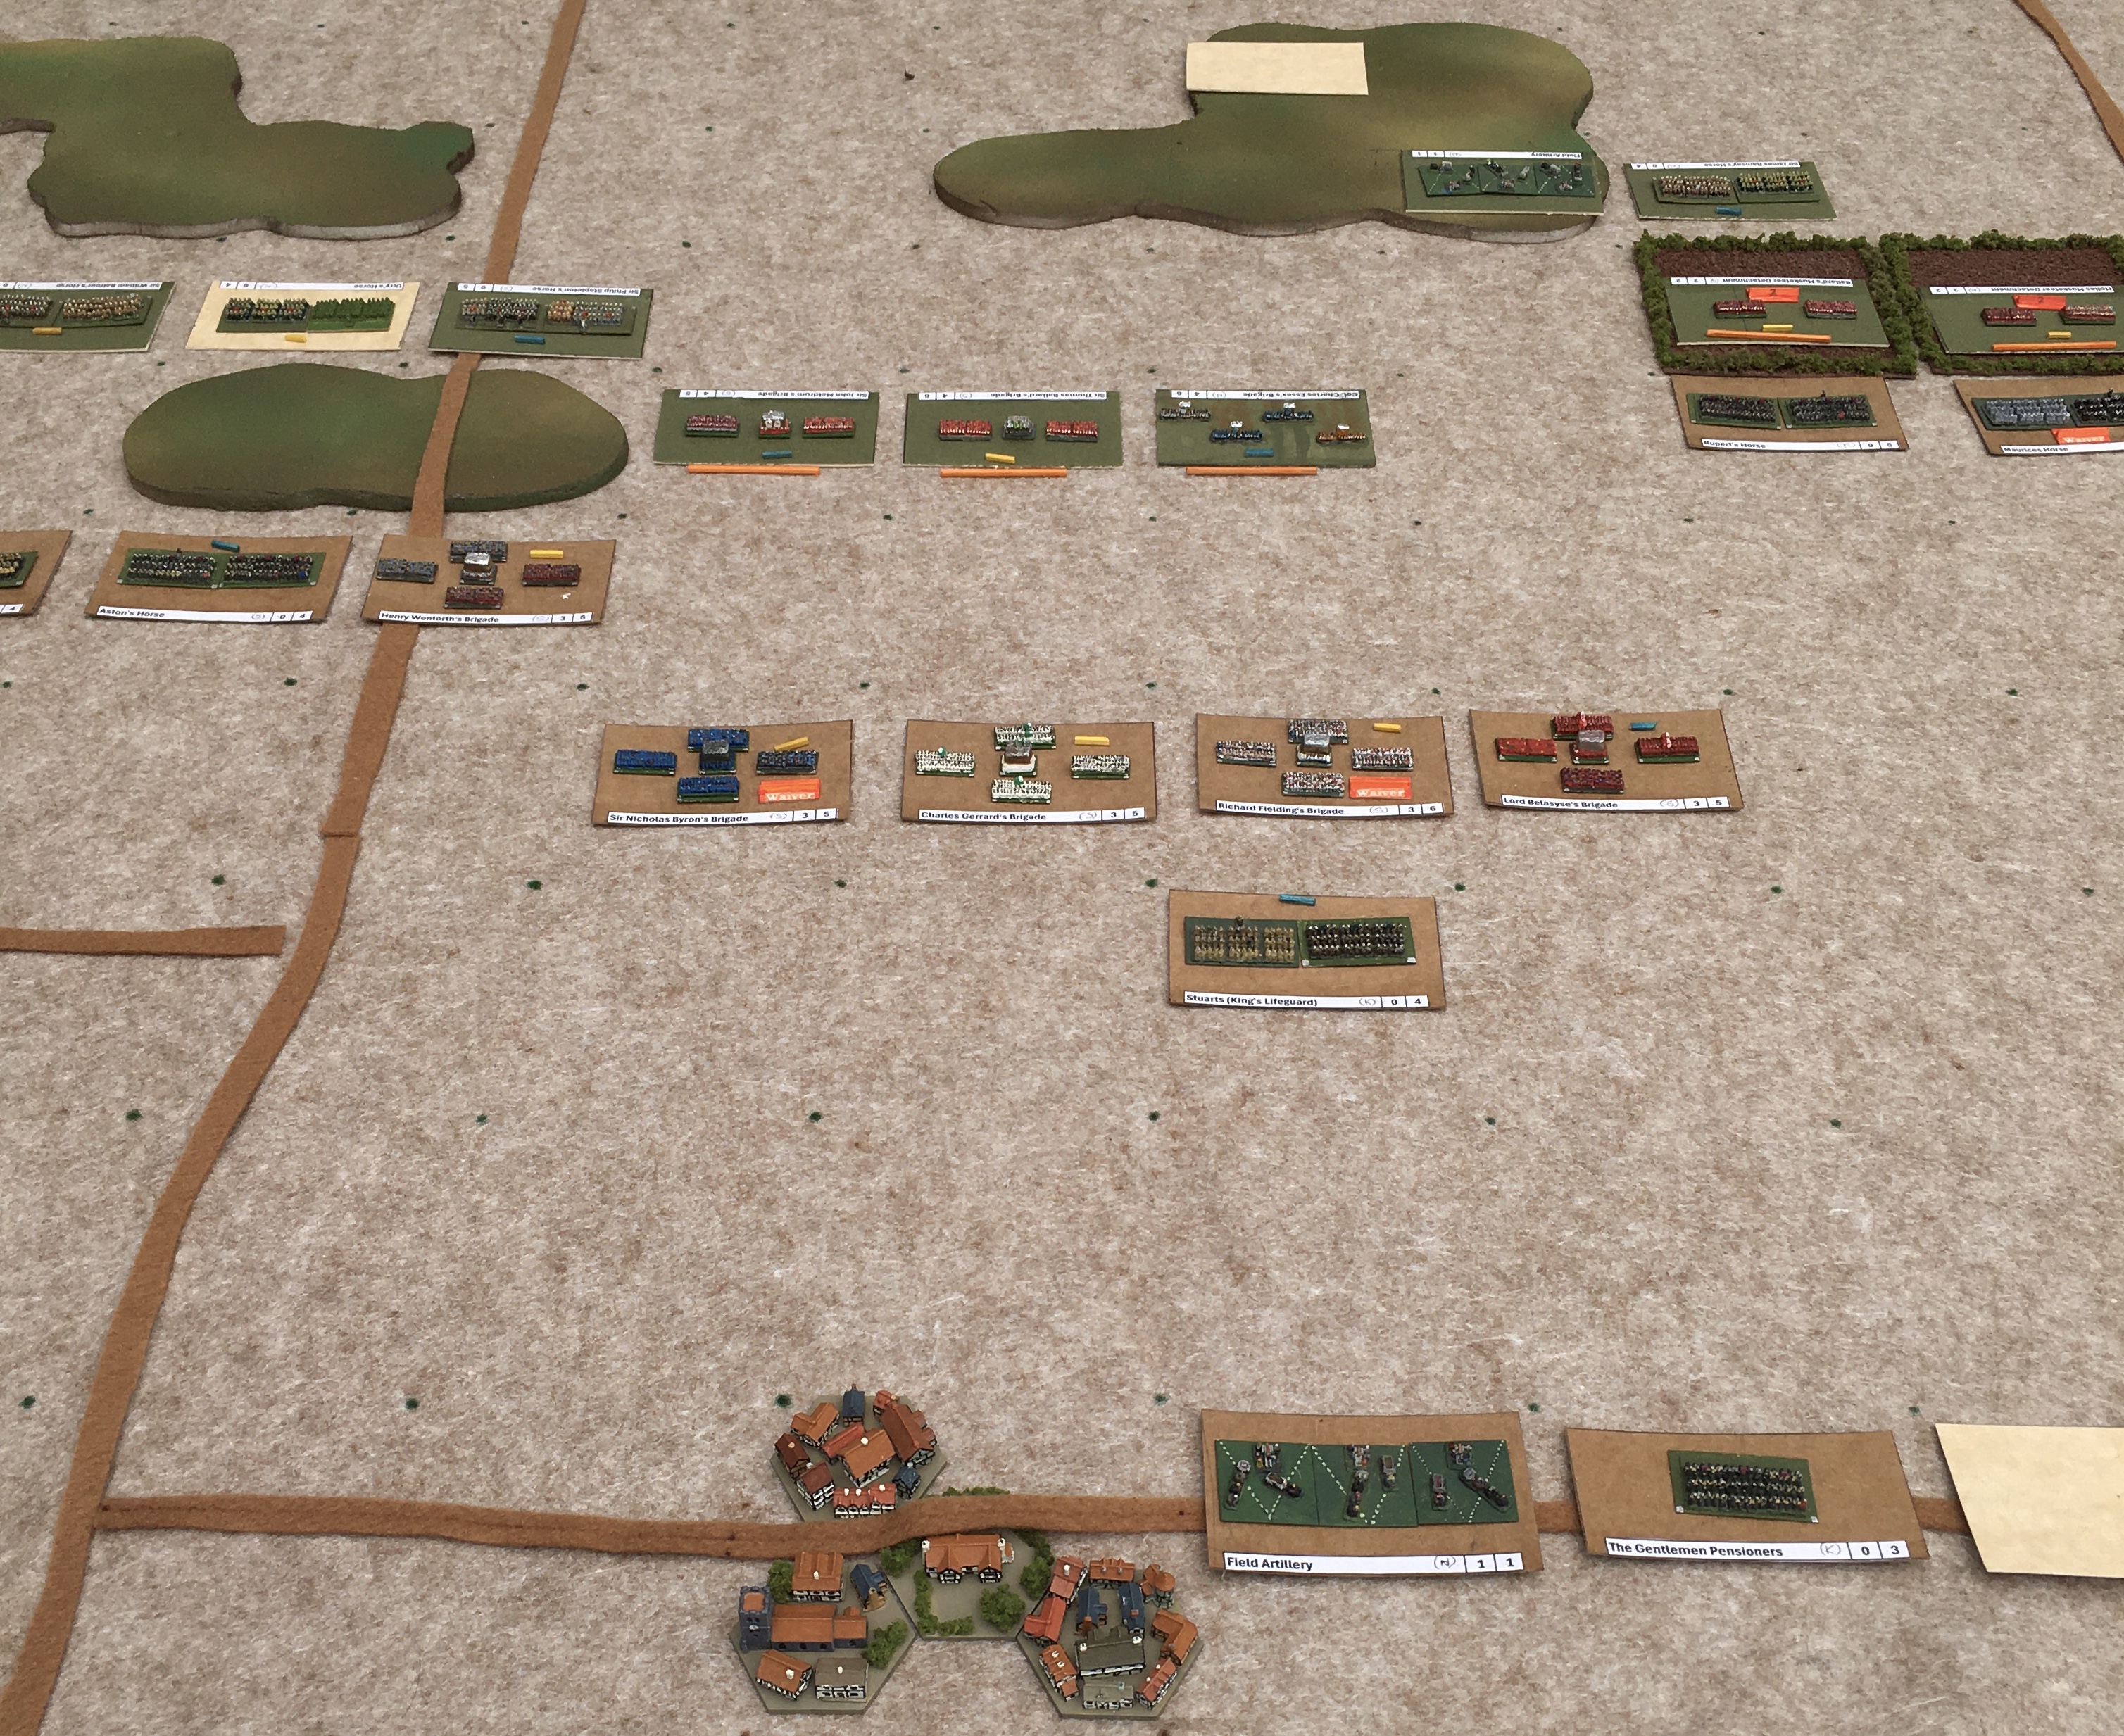
| 1. The initial deployment you can see the effect of the race to the flanks effect |
Move one - jockeying for advantage
The Royalists opened proceedings by making a measured advance down the slope. Byron's Horse starts to move to the right to extend the Royalist line further as they risk being flanked. Their artillery battery popped away as they did so but didn't hit anything. In fact neither sides artillery battery was of any use all game! Also unlike last game Parliament was more aggressive and came forward from their high ground (high ground who am I kidding, it is a slight rise and no more). Their three infantry brigades took on a shooting stance, advanced and waited. On the flanks the dragoons occupied the enclosures on the right flank and the commanded shot did the same on the left.
 |
| 2. Parliament grabs the enclosures while the Royalists move forwards |
At the end of turn one Parliament has brought some of it's troops into range for a cavalry charge to make contact. On the Royalist right Rupert's Maurice's and Prince of Wales' horse take advantage and charge home, well not quite home Rupert's and Maurice's are fighting to breech the hedges around the enclosures held by Holles' and Ballard's detached shot. Prince of Wales' though get a clear run at the opposing horse (Sandy's) but as all three moves are of two squares they loose the support of their commanded shot.
In the centre most their infantry holds it's ground to avoid moving into musket range of the larger Parliamentarian brigades, the exception being Wentworth's Brigade who are shielded by the rise of ground to their front and are not facing infantry. on the left Grandison's horse charge The Lord General's Horse and inflict hits but come off worse from the reply (remember both sides both attack and defend in a close combat so two attack rounds occur in each turn, which can get messy).
Parliament's moves allows their Infantry to advance in shooting mode and they inflict hits on Byron's and Fielding's brigades. On their right Holles' and Ballard's come to hand strokes with Rupert's and Maurices Horse rather than be caught in shooting stance next turn. Although they inflict hits the return drops both units to wavering. Sandy's are engaging Prince of Wales' horse frontally and can't avoid a flank attack from Waller's. They are broken and flee with Waller's loosing two steps in the pursuit roll. Confidence is ebbing away rapidly where combat has occurred!
 |
| 3. The Royalist right flank where both sides are looking vulnerable |
In photo 3 you can see that Waller's are wide open to a flank attack from Byron's while the commanded shot in the enclosures and Maurice's are all breaking (one more hit will 'kill' them). Close combat is brutal in these rules.
 |
| 4. The stand off in the centre two Royalist Foot brigades are wavering |
Move Three - End game
Things are about to start moving quickly!
The Royalist infantry adopts close combat mode and surges forward to contact with Parliament's centre. Essex's Infantry are at a disadvantage having lost the advantage of the ground and being caught in shooting stance. Byron's horse hit Waller's in the flank. Waller's break and Byron's manage to avoid pursuit weakening them too badly. the fight in the centre is a blood bath with Grandison's horse destroyed by The Lord General's Horse's return attack. In Parliament's turn Ballard's and Meldrum's destroy Fielding's and Byron's Brigade but are destroyed in turn. On their right Usher's dragoon's are destroyed by Wardlow's but Urry's Horse come off worse in close combat and are also destroyed. In a deperate (literal) last throw of the dice Holle's shot close assault Maurice's horse and despite being roughly handled manage to break the cavalry and destroy them. This tips the Royalist over their break point at the end of the turn and Parliament wins 6 - 4 although they are in no condition to follow up on their victory.
 |
| 5. The end of the affair. Just look at all those orange and red markers! |
Conclusions
My first thought is "Wow! That was fast". Only three turns, but they were busy turns with action all along the battlelines. If you wanted to make games last longer you could add an extra confidence rank between Steady and Wavering perhaps called Shaken.
One thing this play through highlighted was the effect of holding defensible ground. The minus one to all attacking dice rolls for troops shooting into or fighting close combat into rough ground halves the to hit percentage from 33% (roll a 5 or a 6) to 16.6% (rolls of 6 only). Being caught in the wrong stance has the same impact and if both apply it's impossible to hit the enemy. Flank or rear attacks are equally deadly as a unit only rolls half it's normal defence dice!
Are the rules finished?
Is there scope for further tinkering? Of course there is, the question though is would it be worth it? I intended to create a simple beer and pretzels style game, adding more chrome would defeat that object even though it's my natural inclination.
However, feel free to play with the rules and add more bells and whistles if you want. Here are a couple of things I considered. Allow deployment to be any of the eight squares surrounding a previously deployed unit, so that's adding corner to corner contact as a choice. This allows refused flanks to be easily created. Another option is to remove the free 90 degree turn and replace it with a diagonal move for 1 movement point as a way to manoeuvre as an aid to lining up with enemy units. If I did that I would also restrict cavalry's charge bonus to cases where the 2 square move is in a straight line directly ahead from the starting square. An evil little voice at the back of my head keeps murmuring 'This would work better on a hex grid' and I'm not sure it's wrong. Align the hexes with two frontal sides, two rear sides and a single flank side to right and left and keep most of the rest of the rules the same?
Last but not least, the key question. Do I like these rules? If I'm honest they are not entirely my cup of tea as they don't have all the nuances of the period. However, I wrote them for a specific kind of game and gamer and I think they hit that target. I can get a big battle onto a small table and finish it in an evening without rushing things, both players are busy at all times and there are decisions to be made and risks to be run though out. So while I wouldn't say they are the best rules ever, I wouldn't say they are the worst and I don't hate them. Writing them gave me some interesting insights into why some rules for this period fudge things and don't feel right to me. It's because sometimes it isn't worth the additional over head that trying for accuracy over game play creates and sometimes we don't have all the data on 17th century combat to do it anyway.
The rules seem to be coming along nicely.
ReplyDelete