Monday, 20 February 2023

First sight - Empress Miniatures and Galloping Major shootists

I have been meaning to pick up some of the western shootout figures from these two ranges for a while.  Before I start I should disclose a connection to the owners of both businesses.  Lance of Galloping Major has been a good friend of mine for almost fifty years (and yes there was a sharp intake of breath behind this keyboard when I was checking those dates!) and I have known Paul and Christine of Empress Miniatures for almost forty years (second sharp intake of breath).  Notwithstanding that, I will try to be completely honest in my review of the figures.

Lets start with the Galloping Major figures these are the Lawmen and Enforcers packs plus the Soldiers Free gift figure.  Well sculpted with plenty of detail and a little chunkier than the Empress figures.  The clothing depicted is historically accurate and the poses anatomically accurate.  Some of the sculpting is a little heavier than I might like but it doesn't detract from the overall quality.  There is no flash and on any of the figures and no mould lines either.

Galloping Major -Lawmen and Enforcers, sets 1 & 2

I inked these to help see detail.  Empress Stumpy (left) Galloping Major free figure (right)

The Empress chaps are from their Wild Bunch range and depict personalities from famous Western movies.  I bought the Baxter Boys from the movie 'Open Range'.  These depict them exactly as shown in the stills from the film as they walk down main street towards Boss Spears and Charlie Waites, moments before the gunplay starts.  The sculpting is some of the best I have ever seen, at least on a parr with Artizan's personality figures.  I also bought the Walter Brennan as Stumpy from Rio Bravo figure, again clearly recognisable from the movie stills.  Lastly, I got the Unforgiven Cast pack consisting of English Bob, Little Bill Daggett, W. W. Beauchamp and Delilah FitzGerald.  Apart from Stumpy who is loading a shotgun, the rest of the figures are in walking poses so can play the roles of passers by.  Oh and I bought the hitching post set of two "Empty Horses" and a hitching rail.  These figures are all flash free and apart from the horses have no mould lines.  The ones there are minimal and were easy to remove.

Empress Baxter boys set


The cast of the Unforgiven (excluding Ned, Will and The Schofield Kid)

The Empress figures look less bulky that those from Galloping Major as they have proportions much closer to those of  real people.  The bases are much thinner as well and remind me of the old rectangular bases on Airfix soldiers.  If I had to play favourites I'd have to say that the Empress figures are more appealing as they depict personalities from great western movies, although the Galloping Major ones have a wider application because they don't portray identifiable characters. 

I can only find one drawback to these two ranges and that is the overall size.  Galloping Major are 30mm to the eyeline and Empress vary (as the figures depict people of differing heights) but are between 30mm and 32mm to eyeline.by comparison my Foundry figures average about 26mm and my old minifigs are even smaller at 24-25mm.  I would have no problem mixing the two ranges together as they make a good match one to the other and even comparing them to other ranges I don't see the size difference as being particularly noticeable on a table.  It certainly will not prevent me buying from either range again. My greatest concern is that my painting skills might not do them justice!  

Wednesday, 15 February 2023

De Lancy - building Annabelle's Bar

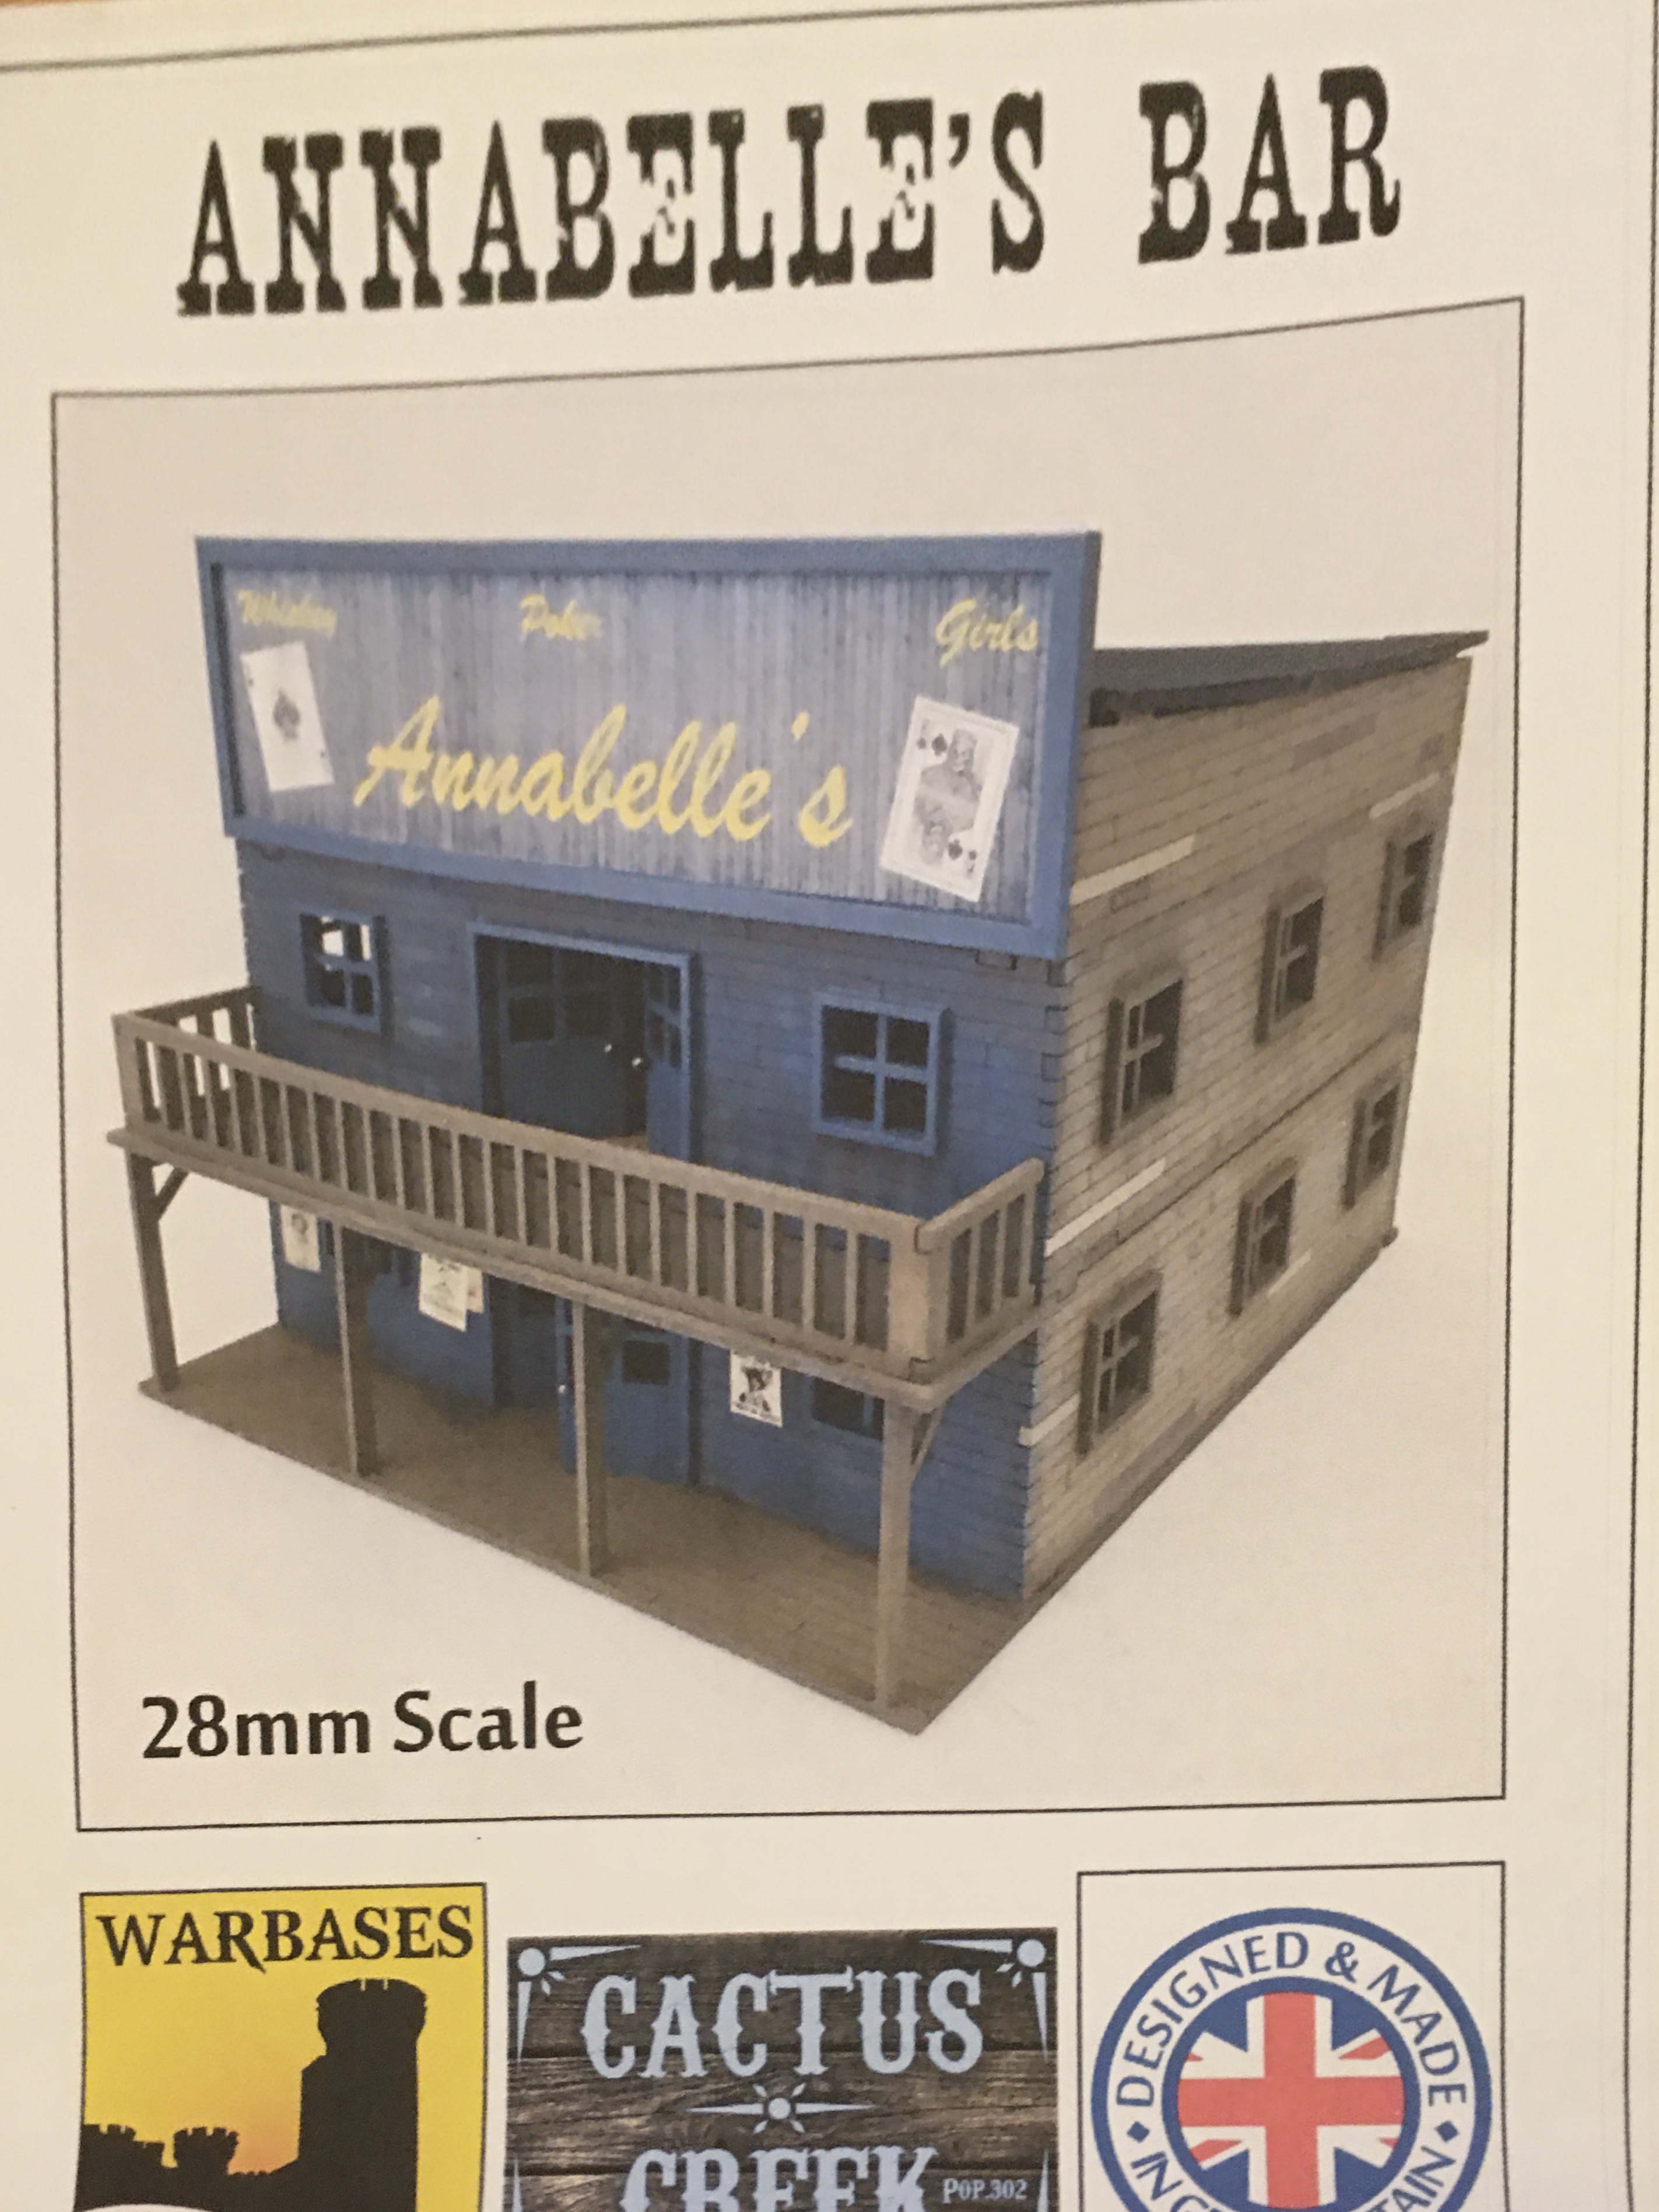
De Lancy Texas is turning into a bit of a cattle boom town with new buildings popping up all over Main Street.  At Vapnartak I purchased a saloon (Annabelle's Bar), a blacksmith's shop plus an open wagon and a hitching post and two tethered horses.  I have made a couple (or more) of lengths of fencing as a test for construction and painting techniques and have started on constructing the Saloon which will be named 'The Dog House' owned by G & B Dogge. 

The saloon is from Warbases’ Cactus Creek range.  It doesn't come with any assembly instructions and in this case that is a drawback as the second story and the ground floor are very similar.  So I set too and dry fitted everything together before reaching for the wood glue.  Two things become obvious the first is that the key part of the build is the ground floor front wall.  This can be identified as different from the second floor one as it has holes for the supports for the balcony on the second story.  Importantly it is also slightly taller than the front wall of the second floor.  Matching two sides and a rear wall to the height of those two front walls allows you to tell which floor they are for.  It is also pretty obvious that the front of the ground floor needs to be painted before assembly, as getting a paint brush in once its all glued together would be tricky.  The floor for the second storey sits inside the walls of that storey rather than having those walls slot into holes in the floor.  To be honest it sounds more complicated than it actually is, but a dry run is a must.

Just need to paint to roof a nice grey-black as tar paper

The only other potentially tricky part is placing the supports for the balcony.  I found that gluing the wall end in place first was best as there is more flex in the vertical part which allows positioning it into the socket in the sidewalk part of the base easier than doing it the other way around.

One thing about the Warbases' buildings is that the roof sections come without any texture, you might recall that I had to scratch build shingles for the livery stables.  For the Land Office I papered the roof in toilet tissue and PVA to create a tar paper effect (complete with the odd wrinkle) painted in a dark grey it looks fine.  I'll be doing something similar for the saloon roof.

I also dry fitted the wagon together, this is a Sarissa Precision model and does come with some straight forward assembly instructions.  It is pretty easy to put together and is a very nice little model.  I need to break it back down for painting which will be a fairly simple one colour scheme.  Which brings me to the subject of painting MDF to look like weathered wood.  The look I want is the old weathered silver grey wood look and I'm struggling to find a way of creating the effect which I like.  Suggestions will be gratefully received. 

The fencing was made from coffee stirrers, match sticks and lolly sticks.  The stirrers are used as planking and when split lengthways also make the stringers on the vertical planked fences.  The match sticks are used for fence posts and lolly sticks for the bases.  A good wood glue worked perfectly to glue the fence components together and some Milliput on the base served well as a foundation to stick the fence posts into.  I think that they look the part and will do nicely as line of sight blockers.

I have made two styles of fence for the moment.  The vertical planked ones for domestic use and the horizontal ones for corral or stockyard use.  I started with just lolly sticks for the entire build but the planks felt over thick so for the mark 2 versions I went with coffee stirrers as planks.  I also changed how the posts were attached so I used a single length of match stick rather than short sections, which frankly was a real pain.

Planks cut

Framed (This is mk1 all made from lolly sticks)

And based

The Mk2 using coffee stirrers as planking is more to scale


Tuesday, 7 February 2023

Didn’t we have a lovely day at Vapnartak

Vapnartak 2023 York Wargames show held in the grandstand of York race course.  There is plenty of free parking and it is easy to get to as it is just off the York ring road.  Public transport links are good (when they aren't on strike) and York is a great tourist city in it's own right.

I like Vapnartak it’s fairly local and it’s the first big show of the year.  Plus all my favourite traders are usually present.  I haven’t been able to attend for the last two years due to various issues, so I was ready to shop.  It seemed to be much busier this year with a huge queue when I arrived about twenty minutes after the doors opened.  The host team from York Wargames Club kept things moving though and I was inside within a few minutes.  Still the queue was long enough for the two blokes in front of me were wondering if the traders would still have stock when they got in!

More lead was purchased of course - Empress and Galloping Major

Inside was the usual mix of traders, demo and participation games.  I’m on a bit of an Americana theme at the moment so my first stop was Empress Miniatures for some of their excellent Wild West figures from the 'Wild Bunch' range.  These are lovely sculpts depicting characters from well known Western Movies.  I plumped for the 'Baxter Boys' set aka the bad guys from 'Open Range', The 'Unforgiven Cast' a hitching post set and 'Stumpy' because who wouldn't want Walter Brennan armed with a shotgun in his town?

From Warbases what will become a saloon

Then it was across the aisle to Warbases for one of their MDF buildings.  In this case “Annabelle’s Hotel” which in De Lancy will become a saloon with accommodation for traders in negotiable affection!  While I was on a building theme I hunted down Sarissa Precision where I acquired a Blacksmith’s Forge and a wagon.  Well I say hunted down it was really just around the corner.  Lastly it was up the stairs to the Galloping Major stand for more Wild West figures.  I took a long lingering look at some of the Foundry packs but decided that the bank account had suffered enough for one day (and I had to explain my spending to Mrs E when I got home) so I decided to leave that for another day.

Every town needs a Smithy so here is one

Last from Sarissa a wagon for local colour

Shopping done it was time to check out the games.  These were up to the usual high standards of Vapnartak.  First stop was the League of Extraordinary Kreigspeilers game set in the 1920's with Russian Bolsheviks battling Chinese and White Russian exiles in what was described as a Dien Bien Phu situation for the Bolsheviks.  Early casualties came not from enemy action but a tray of cavalry being knocked off the table.  No fatalities but probably a need for some tea and sympathy when they get home!  I had to get a close up of the train just for Trebian who I know likes this period and has a soft spot for an armoured train.

Who doesn't love an armoured train


Sited in the warmest spot of the stands but great for shadows

The next thing to catch my eye was a western shoot out participation game run by Harrogate Wargames Club (which I would have loved a go at but missed out on).  Using the new Two Fat Lardies rules 'What a Cowboy' and a really nice looking table.  From what I could see the rules use card activation (or maybe the cards described traits?) and the roll to hit and roll to defend mechanism.  People seemed to be dodging a lot of flying lead while I was watching.

I hope my eventual table looks a tenth as good

Next to this was a very nice ACW game covering the 1863 Siege of Vicksburg run by Grimsby Wargames club.   Iron clads and mortar barges a plenty on the mighty Mississippi including one which was burning furiously!

Vicksburg under fire from the river


Next up is a display game that has been doing the rounds for a few months; Charles Rowntree’s Korean War set up of the last stand of the Glosters on the Imjin River.  This shows what can be done with terrain modelling in small scales and it was a real pleasure to see it in in the flesh.

Last Stand of the Glorious Glosters - Imjin River 1951

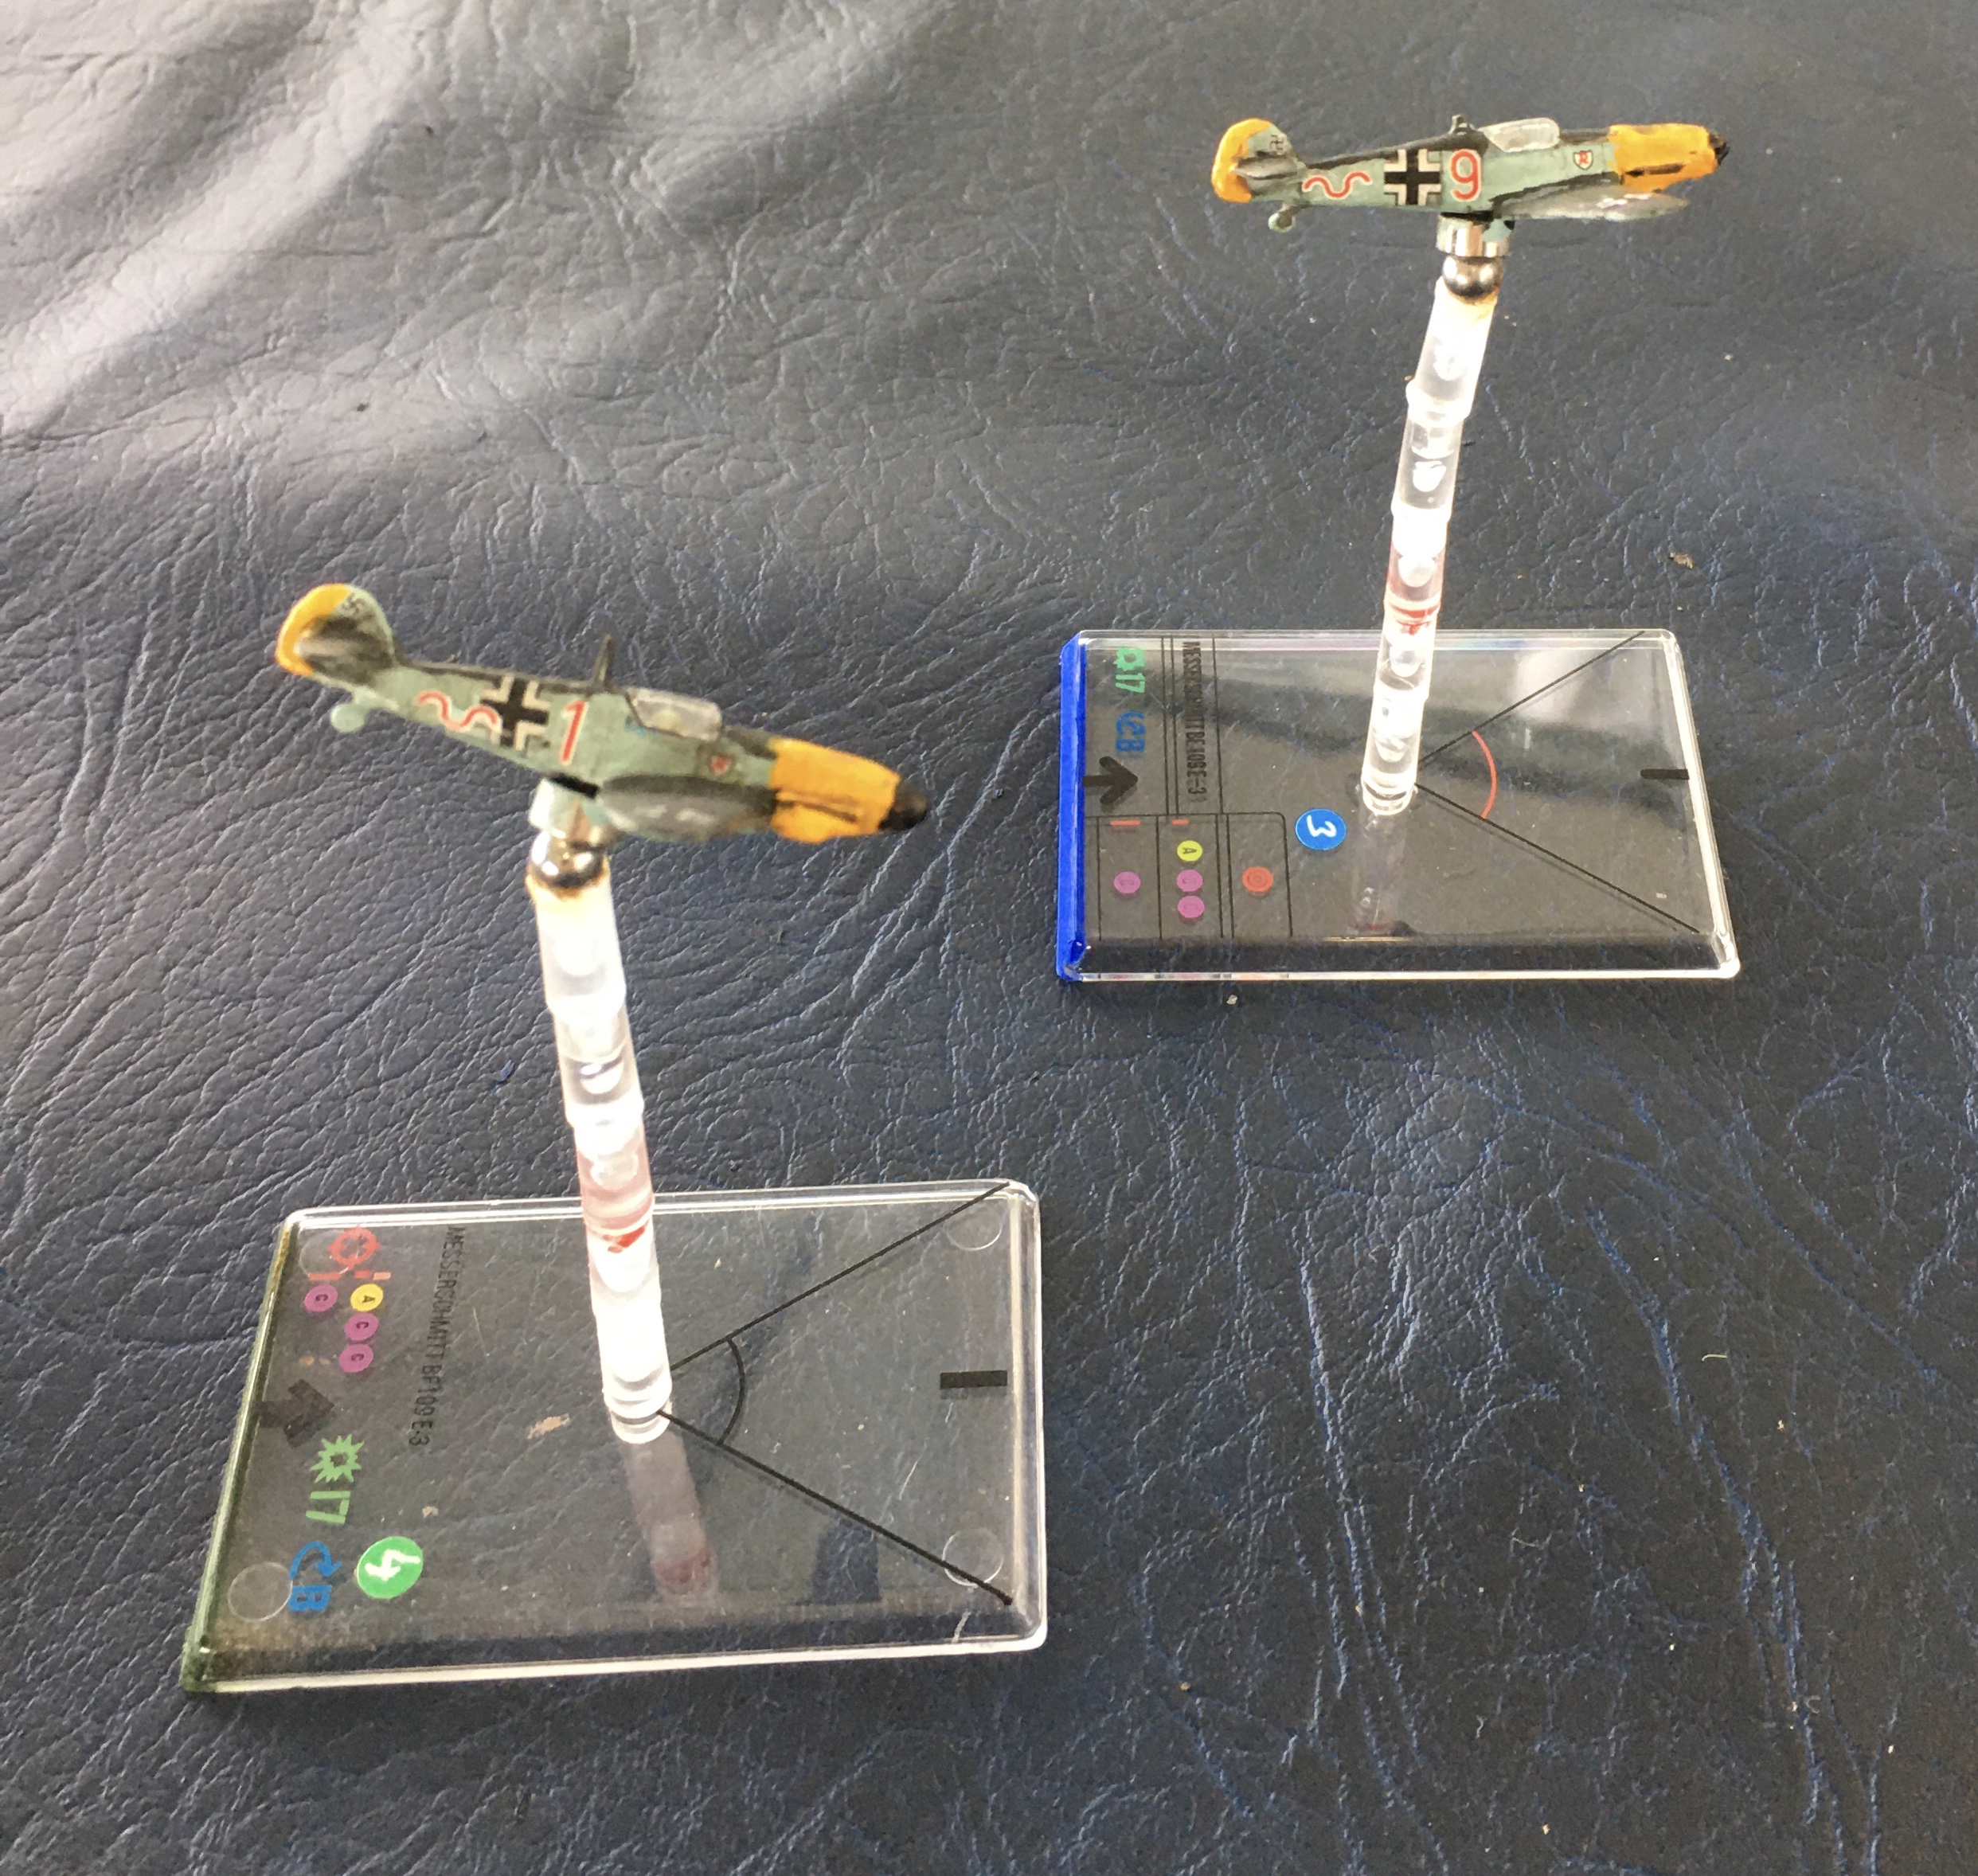
Next up were the three tables presented as participation games by the Wings of Glory Forums.  These covered World War One, The Battle of Britain and a Star Wars space battle.  I only got shots of the first two set ups.  I have to say that the Battle of Britain really took my fancy.  If I was to start a new air combat period that would be the one for me.

Looked like a bombing Raid across the Front 

Handley Page's finest heading sausage side

Meanwhile on the next table Jerry Fighters are over the channel

But the plucky RAF are up to stop them


York Wargames club put on this great looking dungeon crawl game.

York Wargames Club Dungeon Adventure

The team from The Bunker were hunting The Predator, or maybe that was vice versa on this huge jungle table.  There was lots of detail to spot here.
 
The Bunker - Predator Game

Brompton Bankers put on this Battle on the Ice 1242 game using Lion Rampant rules.  It was a fictional skirmish set the day before the historic battle on the frozen lake.

Teutonic Knights v  Alexander Nevsky Russians

There is always a huge number of things to see (and buy) at Vapnartak and I cannot do the show full justice in a blog post.  I missed getting decent pictures of Sally Fourth's Viking raid game and the giant Space Hulk participation game.  There was also a 40K game of some sort going on all day.  

The best suggestion I can make is that next year you should try to go along and take a look for yourself, it is well worth it.

Tuesday, 31 January 2023

The Painting Table - January 2023

Although two 2mm artillery batteries were completed this month (as I needed them for 1st Manassas) most of what I have completed was the terrain making for that battlefield.  I did complete two more 28mm Wild West buildings too, but mostly it was terrain.

My lead pile grew, or at least the 2mm part of it did thanks to David Blair's gift.  I haven't done a full count yet but there are at least 500 castings ranging from terrain to skirmish order infantry castings.  I sorted and put to one side those I will need to complete the 2mm ACW project and that will be the next thing I work upon.  I also need to give the painting station and office a really good tidying!  That could take some time and involve sorting through some boxes I probably haven't looked through since we moved in here five or six years ago!  If blog posts dry up you may need to send search parties as some of those boxes could hold portals to Narnia.

The painting table currently holds some 28mm Wild West figures in various stages of completion, some Brigade Models 3mm buildings and a variety of 6mm Baccus stuff.  That latter 6mm goodness includes some Pictish cavalry, some Sassanid infantry proxying as Byzantine scutarii and a selection of dark age command figures.  Lurking at the very back are a few Brigade Model 3mm buildings.  By my standards of late that is a fairly clear table.

I'm also stunned to find that I have already hit one of this year's targets, I played a face to face game of Altar of Freedom and I'm closing in on two more.  Those being the wild west town where I have five completed buildings and the minimum to hit target was six, and the 2mm ACW army.  All those figures and bases are prepped and ready for paint!  It's almost like I'm efficient...almost!

No picture of the table this month as TBH it's pretty boring.

Sunday, 29 January 2023

Building a better battlefield

For the recent ACW game I had to create a close approximation of an actual battlefield which I haven't needed to do before. American Civil War battlefields also have more terrain (yes I know that sounds stupid, but bear with me) than any previous battlefield set ups I have created which caused me to reconsider how I made terrain items. Previous DBA battlefields and those for my 2mm 17th Century games depict much smaller areas of ground than do those of the ACW and so you are looking at terrain features which are smaller than those I needed to make for the battlefield of 1st Manassas where the ground scale means that the six foot by four foot table is a scale six miles by four miles. Smaller armies need less space to deploy and historically tended to choose relatively open areas so other battlefields I have created needed less terrain features. That allowed me more freedom to create detailed terrain features and to try to make the table more diorama like. Don't get me wrong I could do that for the American battlefields of the 1860's but it would be time consuming. Which brings me back to the 'more terrain' comment. The battlefields of the ACW were more heavily wooded than those I have modelled before, the larger ground area includes more water ways and hills too, so more items need to be created and playability has to be considered.

In making the terrain for 1st Manassas I was under time (and cost) pressure as I had the game scheduled for only a couple or three weeks in the future.  I was going to need more and larger woods and hills and about nine linear feet of river.  No pressure then!  What I needed was something which looked reasonable, was quick to make, easy to play on and didn't cost the earth.  Ok so some pressure there maybe.  Here is what I came up with.

Hills

I wanted hills I could use in other games as well as with Altar of Freedom.  That meant step hills, the old tiered wedding cake approach. For AoF the contours seem to be about 25 feet apart, so with a ground scale of 25mm to 150 feet that equates to 5mm to 30 feet (and yes mixing metric and imperial units in the same calculation drives me nuts as well but needs must) so 5mm per 25 feet vertically is close enough for jazz.  I’m mixing metric and imperial because the building materials are in metric but US measurements are in Imperial, so as I said needs must and all that!  I already had polyurethane foam insulation sheets in 5mm thickness so in some (OK all) respects I knew the answer and was really only looking to show it was workable, 5mm contours it was going to be.  To make it an even better fudge for 2mm figures I usually work to a rule of thumb of 1mm equals six feet so five sixes are thirty…I’m happy with that.

The basic bare foam hill shapes

As a bonus the scenario map scales out to 1mm to 1cm on the table so establishing the rough size of terrain foot prints is straightforward.  For each hill I measured the size of a rectangle that the feature could sit within and set to with a pair of kitchen scissors.  The foam cuts well and only needs a light sanding to smooth the edges.  I gave the foam a coat of green house paint and then a couple of coats of acrylic spray paint after some further trimming to ensure everything sat properly on the table in relation to other terrain (more on that later).

Woods

My normal system is to make canopy woods by gluing chunks of foam foliage to a base.  For ACW battlefields there are a LOT of woods, and I didn’t have time to make that number of canopies.  So what to do?  Enter a grass effect carpet from the local Lidl store Mrs E bought me a couple of years ago.  I simply cut the shapes with the trusty kitchen scissors.  Again the carpet cut easily and as a bonus I could cut it in layers to sit on the steps of those hills which were wooded.  Again after a trial fit to the table and some judicious trimming it was job done.  In due course I can either add a scatter of trees or use the shapes as the bases for canopy woods.

The woods, a little flat but a nice colour

Rivers

I had a good head start here as I already had a lot of river sections made.  I only needed to create the tight bend in the North West section of Bull Run and to create a link piece to ensure the sections connected up.  My existing rivers are made in a couple of different ways.  The best system uses a rubber base and sand glued to the edges to create the banks.  A fast dry brush with a olive green over the sand gives a grass effect.  Confession time; I didn’t have time to paint the new sections but they didn’t look too bad.

Rivers and canopy woods under construction 

Buildings

These are a mixture of Brigade Models, Irregular Models and home made buildings from very old monopoly houses.  So old in fact that they are wooden!

Roads and minor streams

These were simply drawn on with chalk.  The playing surface is felt fabric sprayed with acrylic paint and it takes chalk well and it brushes off without too much trouble.  So that's fairly quick and cheap!

Finishing touches

My table is made from MDF sheets and they (of course) are cut in metric sizes, imperial would be too easy.  So the table is not exactly 6 x 4 feet but the map I scaled the terrain from was converted as if my table was exactly 6 x 4, or to put it another way the area terrain items were over sized.  Which is why everything was test fitted to the table.  The important point being that distances between features needed to be as close to the map as possible while still fitting everything on to the playing area.  Cue some more minor scissor action to reduce some footprints and hey presto there before me was a reasonable representation of the battlefield of 1st Manassas.


Test fitting - some adjustments were needed
The final version some smaller hills and woods and the river rerouted

The whole set up cost under £50 excluding the base board and tables and I already had all the materials  in the resources pile so that £50 was actually spent a couple of years ago rather than from this years wargaming budget.  It is great to play on, it is clear what each item is and it looks OK for 2mm use.  Plus I can tart it up as required and everything is reusable.  


Friday, 27 January 2023

2mm ACW - Refighting 1st Manassas

Or Bull Run depending if you go by Confederate or Federal naming conventions. On Tuesday Paul Dawson came over from York for an ACW game using Altar of Freedom. The scenario for 1st Manassas runs to eight turns and we played to a conclusion in around four hours. If we had been used to the rules it would probably have taken a little less time as it was we had a few occasions of double checking the rules to be sure we were doing things correctly, but not many. I played the Federals as McDowell, Paul had to split his attention between Beauregard and Joe Johnson as the Confederates.

1. The map from the scenario book


Altar of Freedom has two scenario books one for the eastern theatre and one for the west.  These are well worth having as they provide the maps order of battle and most importantly the commander's traits for each of the major battles.  First Manassas is fought on a six foot by four foot table but with far fewer units than any of the other engagements in the books.  In fact Greg Wagman the author actually states that "Altar of Freedom was not designed to handle engagements with so few divisions".  However the lack of manoeuvre elements does pose the same questions faced by the two commanders of how to cover all the crossings while maintaining an adequate strike force. 

2. Overview of the game table looking South East
 
In the picture above Bull Run is running diagonally across the table from Sudley Springs (nearest to the camera) to Union Mills. The nearest long edge of the table is the north edge.  Centreville is on the ridge at the North East of the table.  South of Bull Run running right to left are an unnamed two level hill (lets call it Sudley Springs ridge), Matthew's Hill, Henry Hill south of which is Mt Pone none of the other hills appear to have names.  Oh, and the troop positions in picture 2 are not the initial deployments, just where I plonked them down pregame.

Historically the Confederates knew what McDowell's strategic plan was through their spy ring in Washington.  This gave them the chance to have Johnson move his army from the Shenandoah valley to join with Beauregard north of Richmond using the rail junction at Manassas  Junction.  Two days before the battle there was a clash between one of McDowell’s divisions and Beauregard’s covering force at the fords crossing Bull Run south of Centreville. The Federals were pushed back from the crossings.  On the day of the battle McDowell decided against repeating that attack.  Instead he covered the approaches to his supply lines back to Washington which ran via Centreville with Mile’s division and sent Hunter and Heinztelman’s divisions west to cross Bull Run at Sudley Springs to turn the Confederate left flank.  Tyler was to demonstrate before the Stone Bridge to distract the Rebels.  

Overall it wasn't a bad plan but it didn't take into account the poor levels of training and lack of experience in the Federal army (to be fair the Confederates were no better).  Despite that the flanking move was successful but Beauregard was warned that his flank was turned by an observation post to the south who was able to send a message by semaphore.  The main fighting took place on Beauregard’s left flank on Matthew’s and Henry Hill.  Although the Federal’s had the early advantage in the fight there, Confederate troops were quickly able to move to block their advance due to the semaphore warning.  Throughout the afternoon the fighting continued on Henry Hill until the Federals exhausted themselves and were forced to retreat.

In our refight the Federals started deployed around Centreville with Confederate forces able to deploy anywhere south of Bull Run.  My plan was to push Hunter’s Division south from Centreville to threaten the crossings north of Manassas Junction.  Heintzelman’s and Miles’ Divisions would advance towards the crossings around the Stone Bridge with Tyler’s moving towards the fords at Sudley Springs.  Paul covered the crossings from the Stone Bridge South-Eastwards towards Union Mills but only placed one brigade on Matthew’s Hill to cover the approaches from Sudley Springs.

3. The starting deployments.  Federals nearest the camera

Command and control in AoF is interesting.  Each general has a number of priority points to spend; these are split between gaining control of the turn clock, bidding to determine the order that divisions are activated and end of turn actions.  Although McDowell has more priority points than Beauregard and Johnson combined he has restraints on how he can use them.  He is not allowed to bid the same amount for any of his divisions which means that he cannot coordinate his divisions actions.  That also means that he needs the turn clock to allow at least four activations a turn if all of his divisions are to be activated.  On average the turn clock for this scenario would run out after three activations which gives the Federals problems.  If you want a fuller description of the mechanics of Altar of Freedom take a look at my earlier post which is here: Small but Perfectly Formed: Altar of freedom - I done seen the Elephant (elenderilsblog.blogspot.com) 

From the get go Tyler had problems firstly I didn’t deploy his troops as far to the West as I could have done (entirely my fault I misread the deployment locations). Secondly the approaches to his objectives are heavily wooded which slows his troops dramatically.  Lastly (and due to Paul's good generalship) McDowell struggled to allocate enough priority points to Tyler to keep his troops moving.  After the game ended I also realised the the scenario set up rules (even when read correctly) make it impossible to get troops around Beauregard’s left and ready to attack as quickly as happened historically!  

4. The end of the first hour

While Tyler was slogging through the woods, Hunter was moving his division south from Centreville. However, Johnson wasn’t sitting idly by.  Instead Paul had him cross Bull Run with his troops to threaten Centreville (which is a Confederate game objective).  He pushed Stuart’s cavalry brigade forward on the far left of Hunter’s division while the rest of of Johnson’s wing advanced frontally on them.  I had to respond to this and for the rest of the game I had to prioritise the action on my left more than I had intended and that of course meant that I had less points to bid for my flanking movement.  

I pushed Heintzelman’s brigades towards the Stone Bridge as fast as I could and the first fighting erupted there.  This was skirmishing across the Stone Bridge that fight see-sawed back and forth for two or three hours.  One reason for this was Paul’s siting of his artillery, he placed batteries on the hills overlooking the crossings around the Stone Bridge.  Two were sited on the North Edge of Henry Hill and a third on the rise to the west of there which placed any Federals advancing on the bridge in the centre of interlocking fields of fire.  Artillery has an ability to use interrupting fire against activated enemy divisions which can drive a brigade backwards stopping them completing their movement.  Paul made maximum use of this to prevent Federal troops from crossing Bull Run in this area.

5. Fighting around the Bridge

In photo five you can see how Paul's artillery dominates the approach to the Stone Bridge and Farm Ford.  The tokens denote fatigue blue for one, green for two etc.  Any unit accruing a fifth fatigue marker is broken!  We didn't get any units past two fatigue all day, clearly we were not pushing things hard enough.

Meanwhile to the east Johnson’s attempt to advance towards Centreville forced me to give high priority bids to Hunter’s Division to guarantee they could deploy into a defensive line before Johnson could launch an assault.  I also turned Miles’ Division back to support him.   I managed to block Stuart’s route with Palmer’s cavalry brigade and put a defence together and despite Confederate close attacks this stabilised the position on that flank.  The worst moment was when Burnside’s brigade broke leaving a hole in the line.  I was lucky though as McDowell had moved across to that flank and was able to rally them and get them back into the line.  I had to bid high for Hunter’s and Mile’s activations to stabilise that end of the battle field though, which left Tyler stalled in the woods northeast of Sudley Springs.

6.  Fighting south of Centreville as Johnson pushes through the woods


7. After the end of turn five

By turn five Paul had crossed Bull Run at two points and although Heintzelman had his division in a defensive line facing the Stone Bridge his left flank was under threat from Confederate brigades who has crossed down stream of the bridge.   Tyler by this point was as close as he was going to get to crossing Bull Run having been allocated zero priority points to allow Hunter to keep the initiative over Johnson.

8.  Paul surveys the field at the end of turn 6 *

9.  McDowell holds the line at Centreville (Turn 7)

The battle was drawing to a close by this point and Paul was looking for the win.  He silenced my artillery facing the Stone Bridge and pushed troops over the Bridge and also the fords either side.  In reply I formed a defensive line with Heintzelman’s Division.  Paul launched close assaults against the line and despite my best efforts was able to break an infantry brigade and push another back.

9. Confederates attacking around the Stone Bridge in turn 7

Those attacks opened a route through to McDowell’s second HQ unit which Paul pounced upon giving him a second destroyed unit.  This was at the end of the last turn.  Paul gained the win with two of his required five Destroyed Federal units achieved v none of his own destroyed.  He was also able to remove fatigue markers from his troops so only had three fatigue markers against his units compared to the Federals who had seven markers.  

10. Can McDowell hold the line until night?


17. At the day's end -red line shows the Confederate front line

The overall result clearly favoured the Confederacy and I would call it a tactical win for Beauregard and Johnson.  The Federals have not lost  as many brigades as they did historically which is probably because both Paul and I were a little tentative in pushing troops forward to close combat.

What did we learn?

Artillery interrupt fire is useful for breaking up attacks but can’t create fatigue on enemy units and they can’t use canister in interrupt fire.  Also interrupt fire is a special case of defensive fire, so if you use it you cannot also shoot after the enemy movement phase.  If artillery holds it’s fire until the defensive fire phase it can use canister at short range which gives a huge firing bonus and almost certainly creates fatigue in the target if not outright breaking them.  

It’s hard to get troops into close combat but when you do the results are devastating.  Attacks need to form up in depth so that if the leading brigade is pushed back by artillery fire the supporting brigade can continue the attack.  Oh and we learned that we didn’t know the rules as well as we should.

It was a great day's gaming and both of us enjoyed the rules.  We will be revisiting the ACW and Alter of Freedom again in the near future.

* You may notice that Paul commanding the grey clad Confederates is dressed in Blue, bizarrely I was commanding the blue coated Federals and was dressed in grey! 

Sunday, 15 January 2023

The De Lancy Development Corporation brings you...

 ... exciting new business premises ripe for those with the proper entrepreneurial bent*.  Or in other words I added some more buildings to De Lancy.  

Trump's Office before pressing out.

The Liquor Store (under construction). Poker in the rear anyone?

First up is the Land Office where land grants under the Homestead Act are registered.  This also doubles up as a Post Office.  I have seen period photos from Colorado with this arrangement so I stole it!  Now we have a target for attempts to destroy evidence of land grants or outgoing information and a location mail coaches will visit.

The Land Office - it still needs a little tidying up 

Second is a building under construction.  It serves no particular purpose in creating scenarios other than to be a location and some additional scenery.  I’m in the process of adding extra clutter to the basic building in the form of some stacks of building materials such as planks for cladding the frame.

WIP photo.  You can see why a bit of further set dressing is needed

Both buildings are from the Cactus Creek range from Warbases.  I quite like the price but they are a tad on the small size.  I’d really like the buildings to be deeper in comparison to their frontage to match the historical buildings found on the sandborn insurance maps from the period.  Still I’m not going to make a major issue of it as I’m sure some original buildings varied in size.  I will just fill up the building lot’s footprint with other clutter.

* If you don't have a proper entrepreneurial bent fear not; the De Lancy Development Corporation is to build a state of the art medical facility for the county in the near future.  We will soon have that improper bent straightened right out.  With a range of cushioned rubber mallets for all your anaesthetic needs, we are sure most patients will survive treatment.